In the next steps, you will run the batch and review the results.
By default, batched test case jobfiles will be executed sequentially, in the order in which they were added to the batch. However, Job Files placed in separate execution queues are executed in parallel, potentially significantly decreasing the duration of testing stages in your CI/CD pipeline.
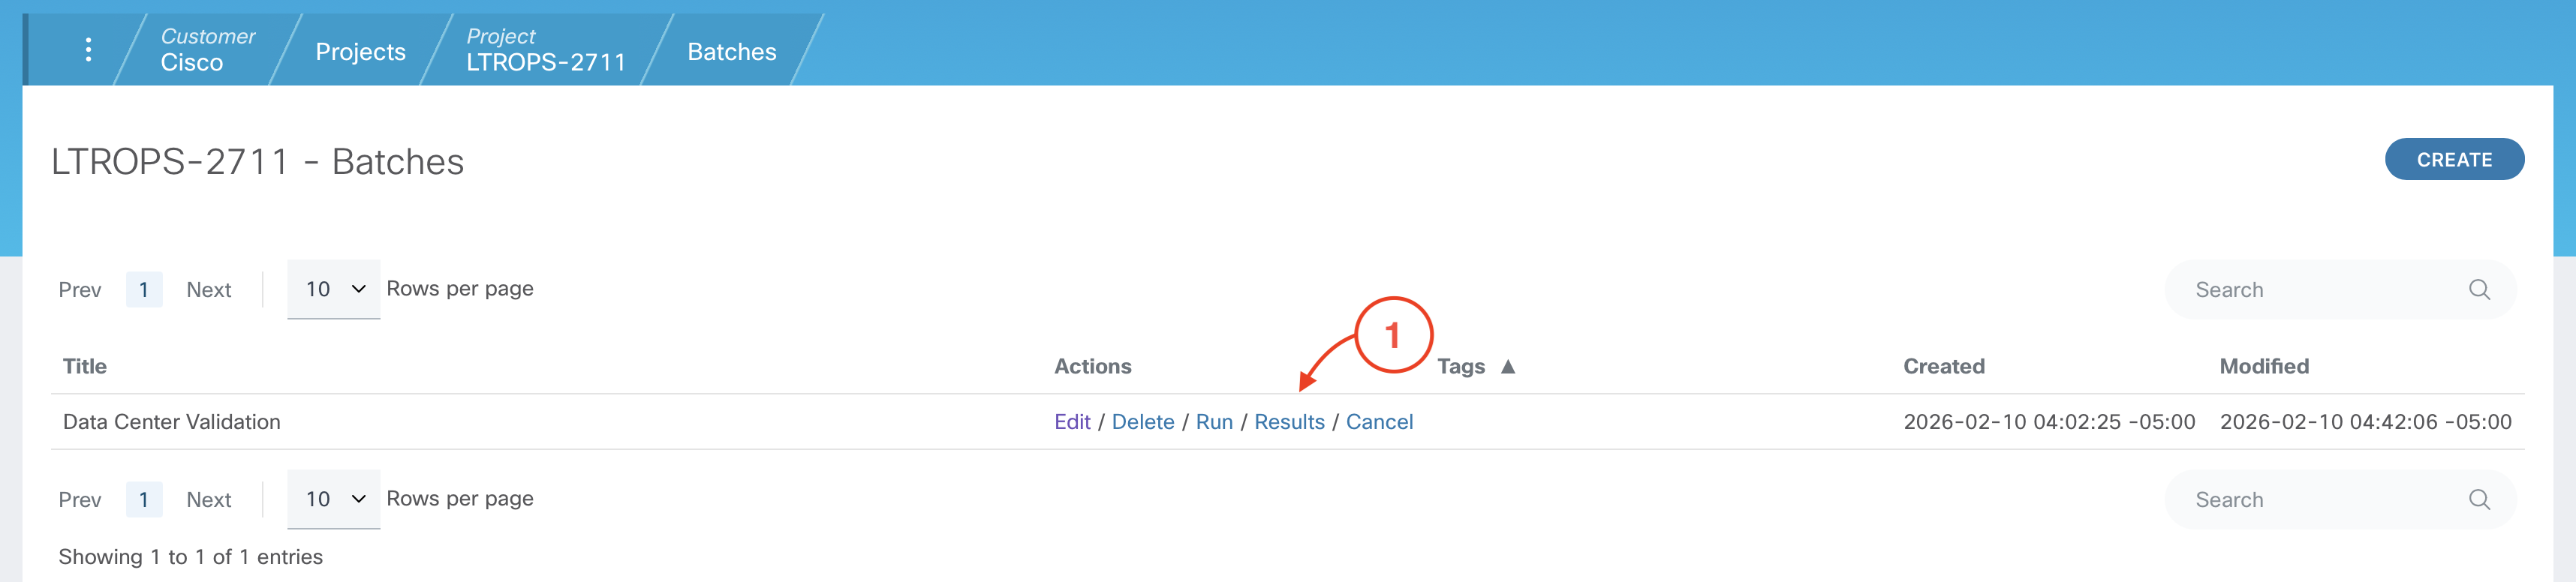
From your project's Batches page:
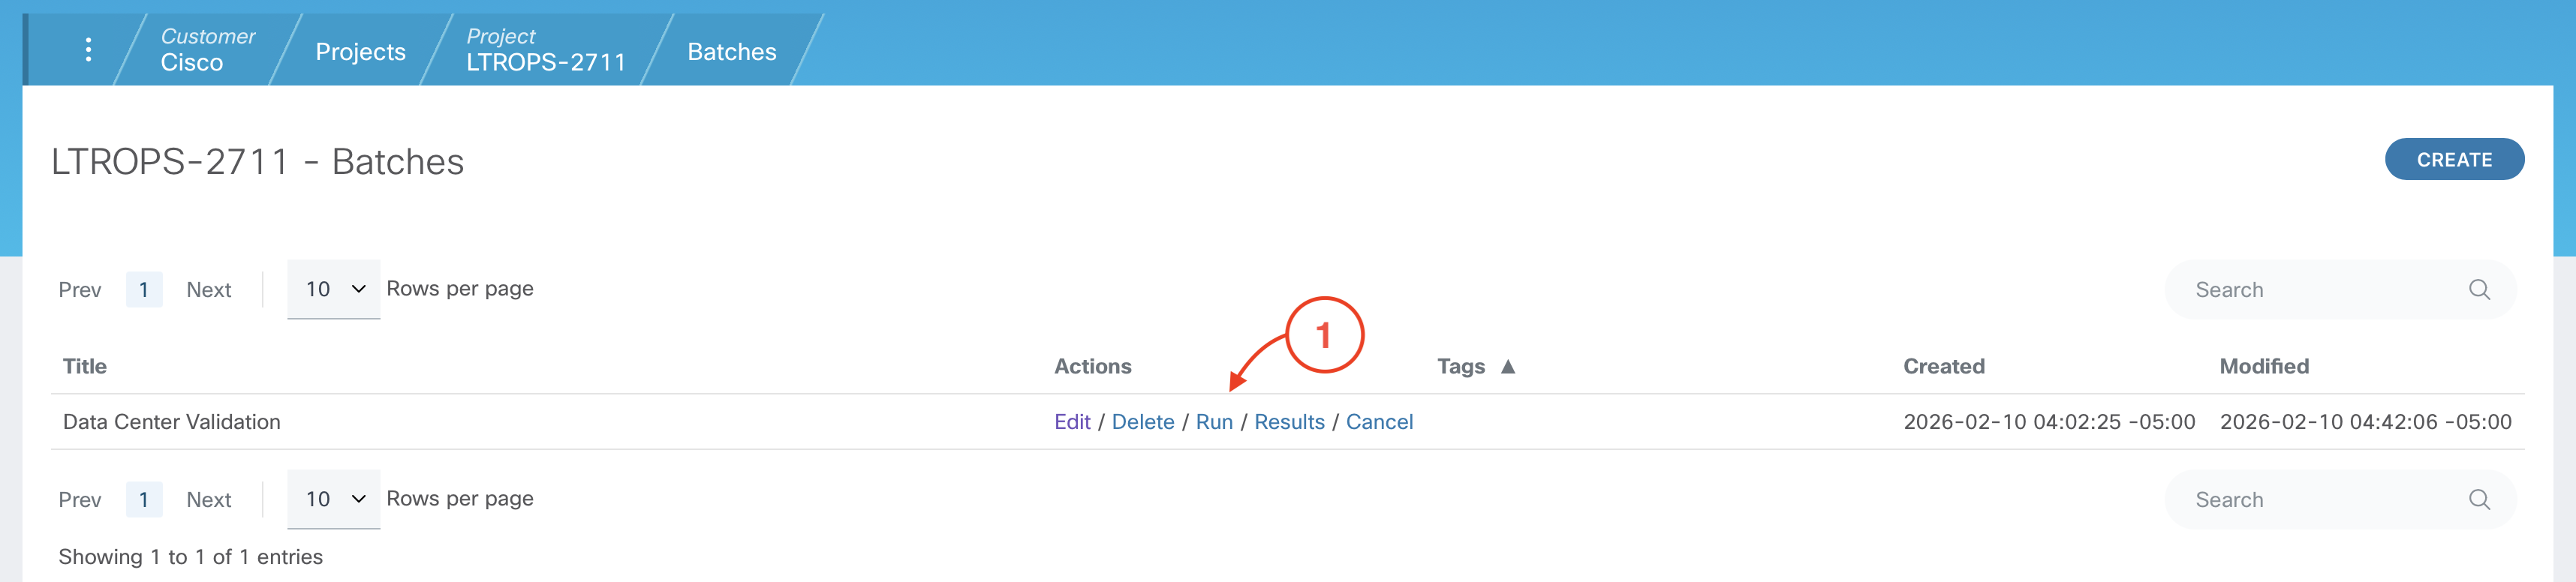
From your project's Batches page:
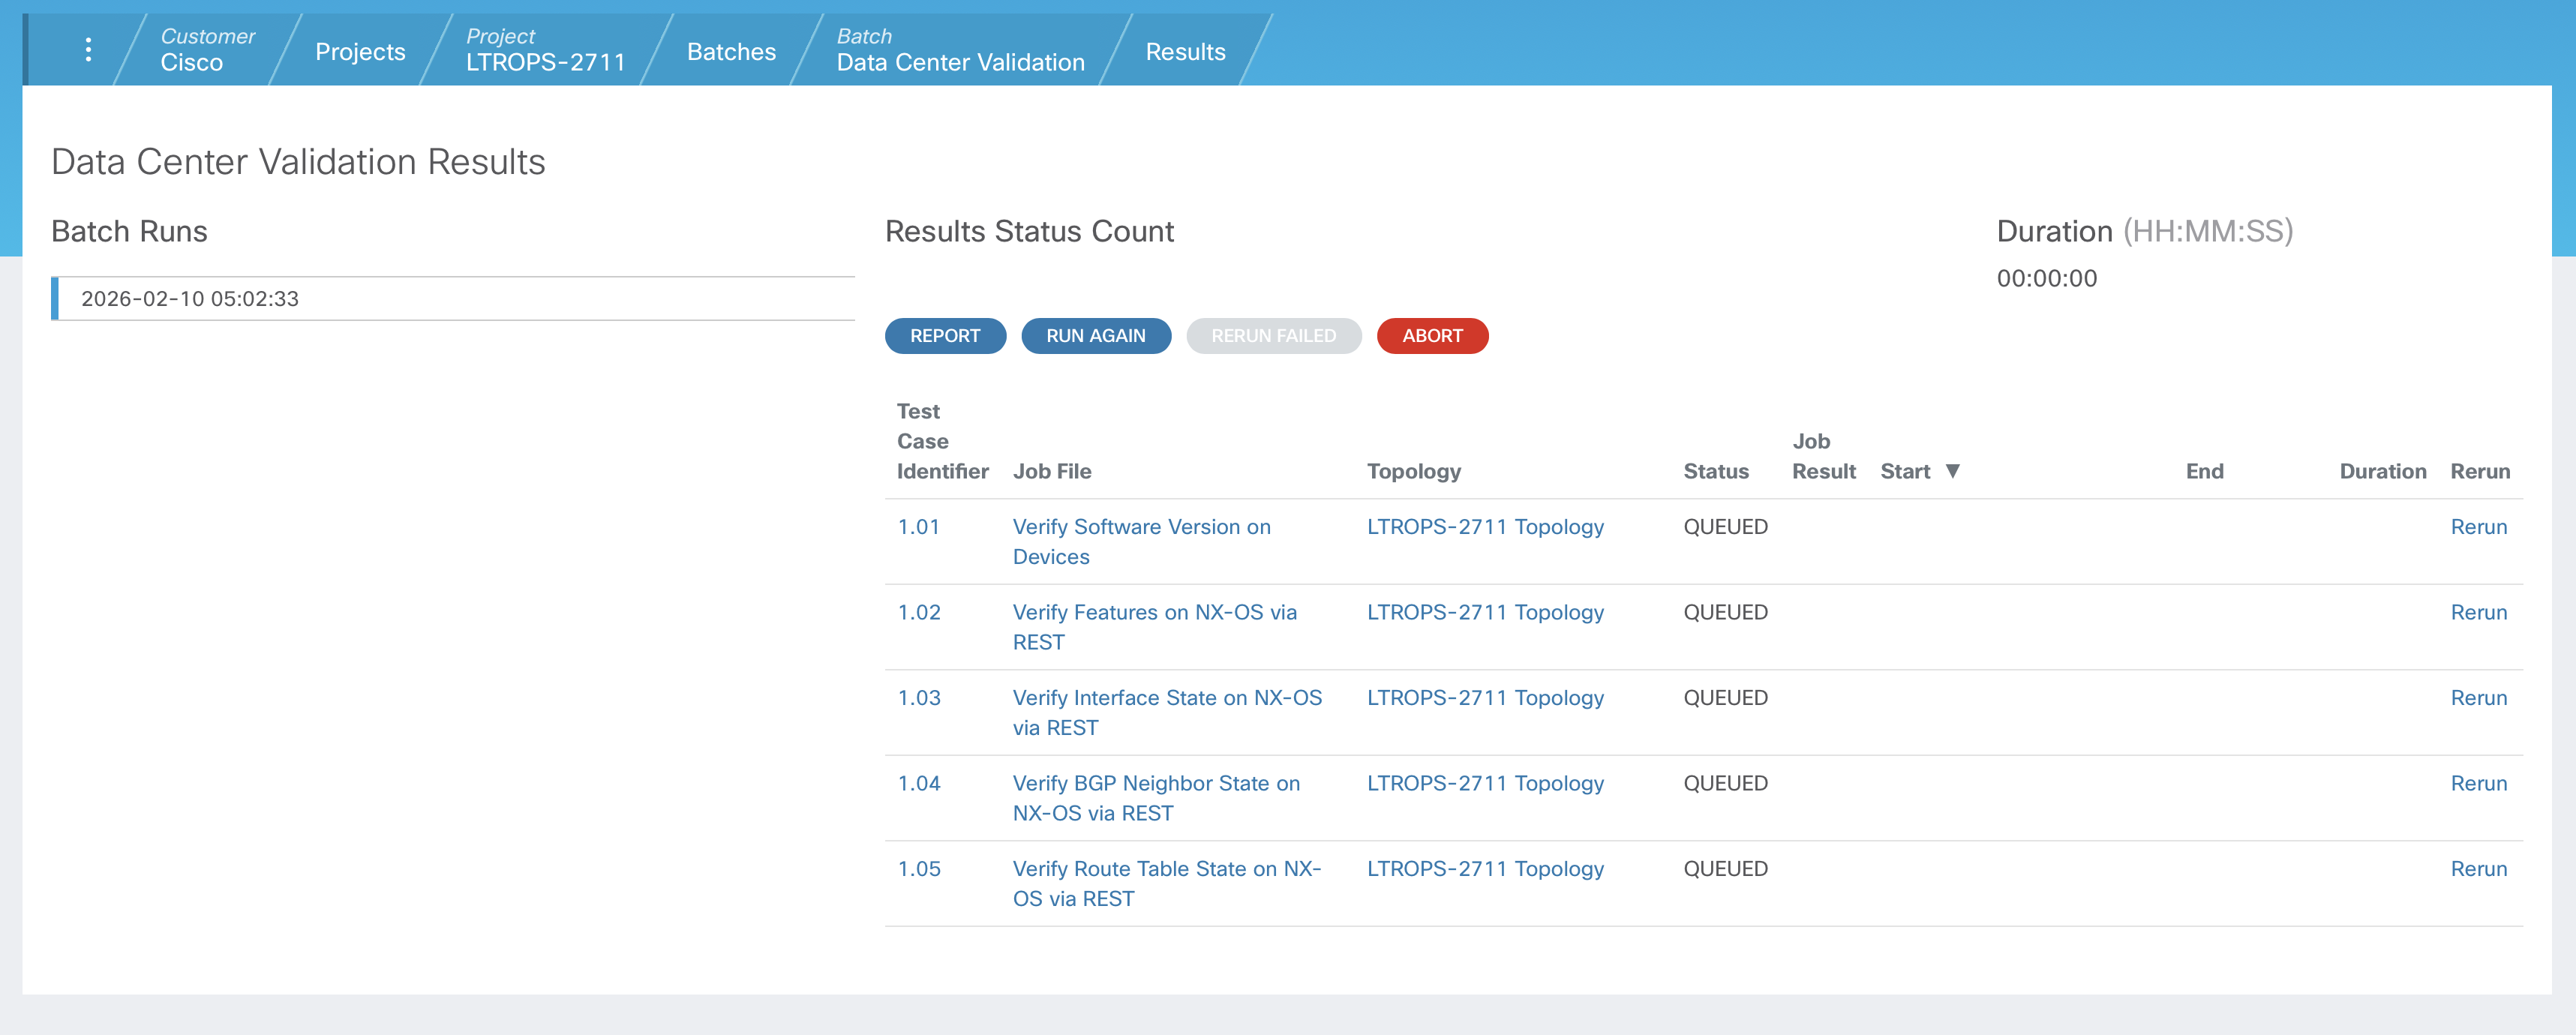
When a batch is run, the status of each test case will be initialized to "QUEUED" until the test case has completed and transitioned to a final status of either "PASSED" or "FAILED". The status of the test case will automatically refresh on this page as CXTM progresses through the queue of test cases.
The Job File column in this table provides a direct link to the Job File page of each test case. The Topology column shows the topology file used by each Job File. Notice how the Topology is set to the topology file that you selected earlier when changing the default topology for all Job Files. As each test case transitions to a "PASSED" or "FAILED" status, data will be populated in additional columns in this table. Take a moment to observe how this table is updated as each test case completes.
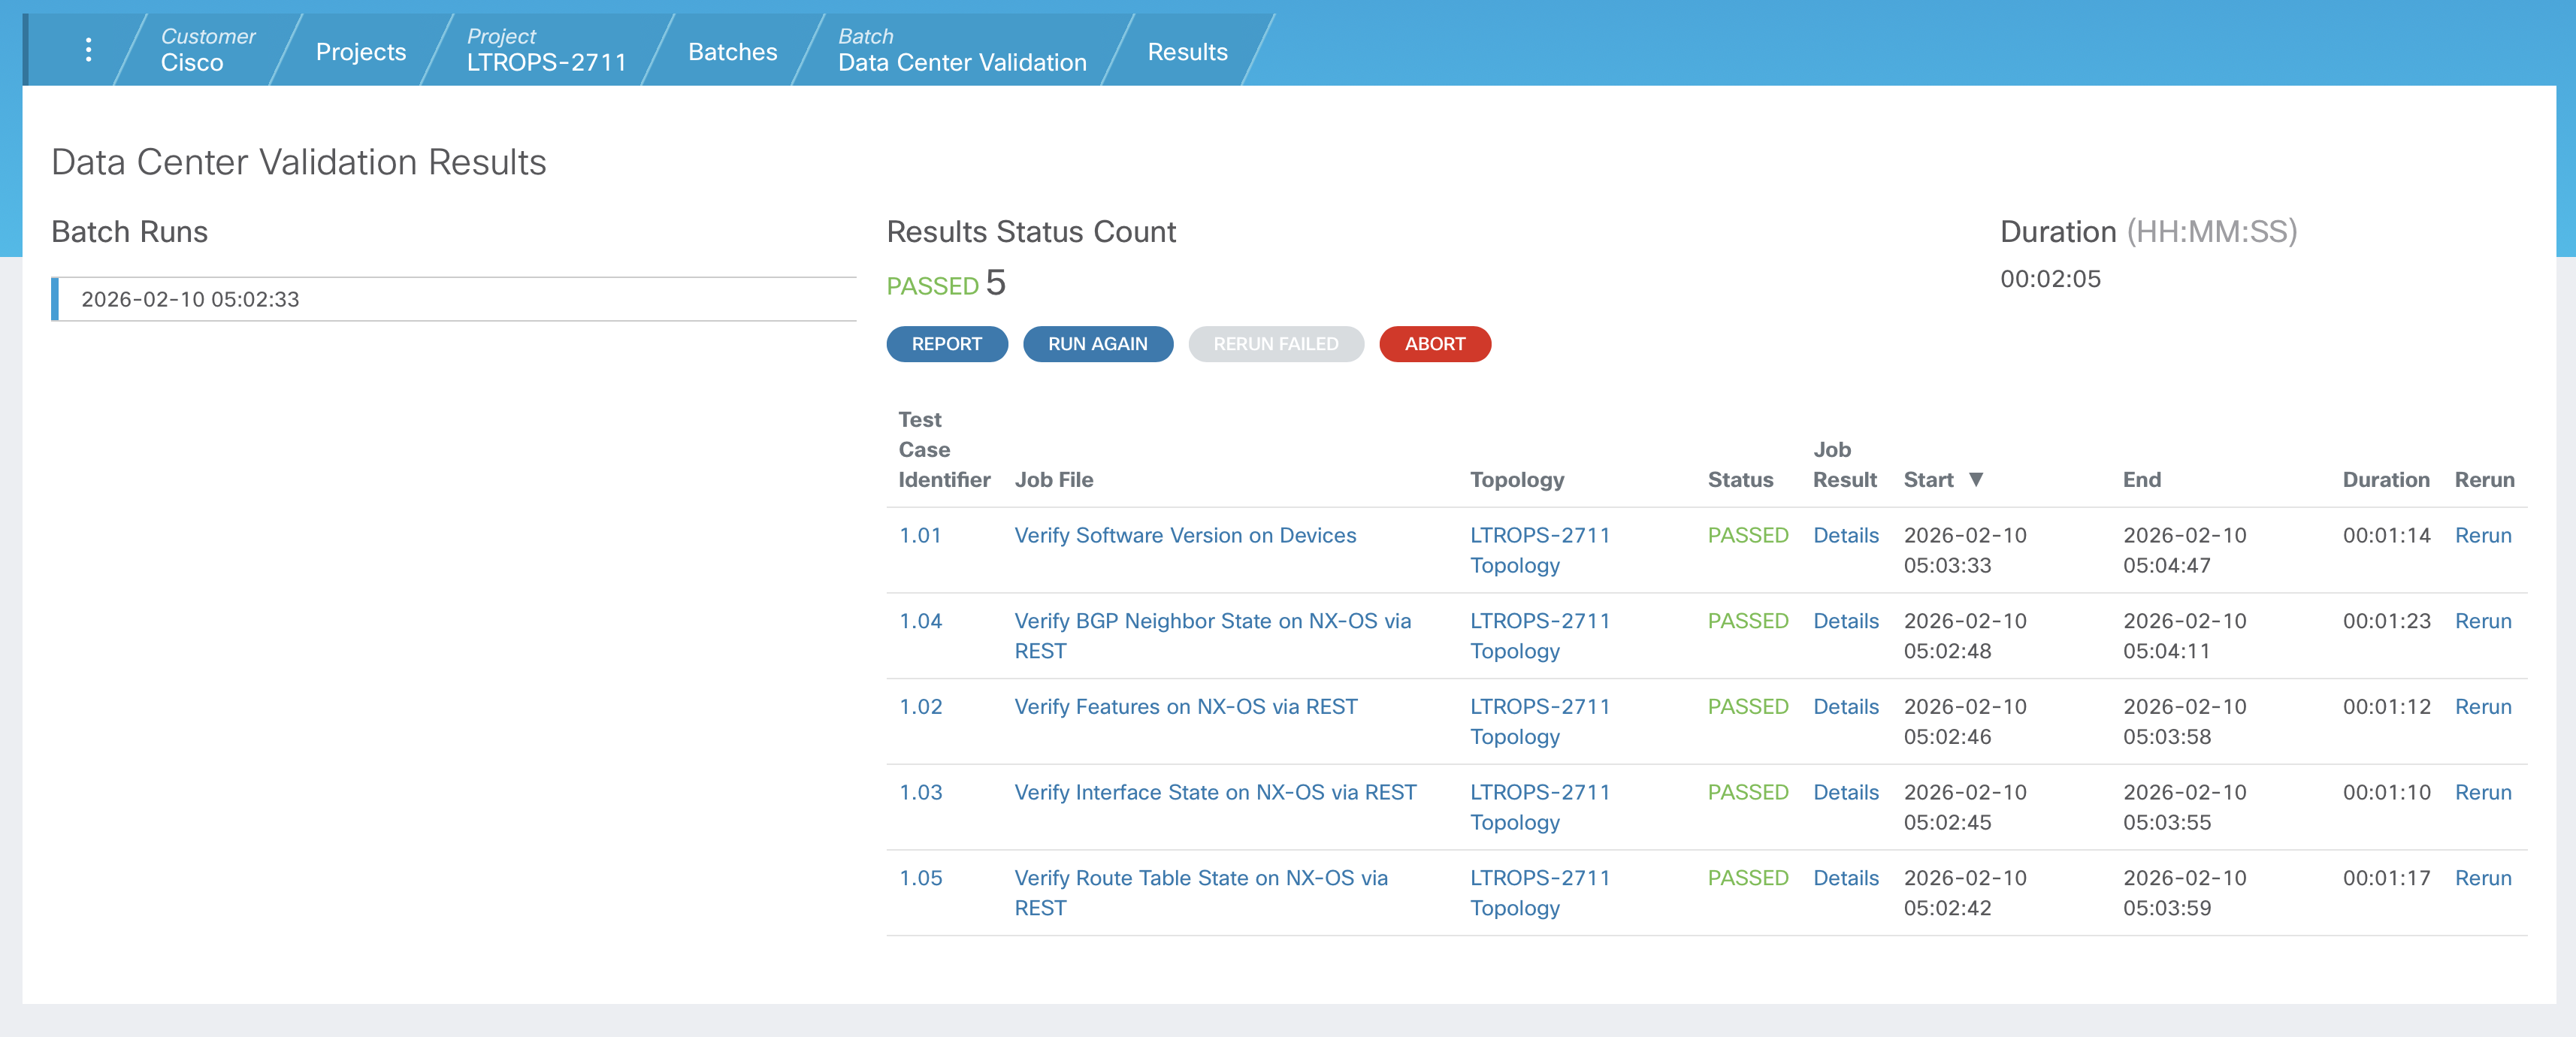
Now that the batched test cases have completed, take a moment to review the populated table.
The Results Status Count at the top provides a status summary, showing the total number of test cases in each status. Your output should show 5 test cases in PASSED state when this batch completes.
Like the Run History that is updated for each of individual test case, a new entry will be added to Batch Runs, providing an archival of batch runs and results.
Notify your proctor if any test cases have Failed before moving on.
From the Job File Results page:


Notify your proctor if any of your test cases are in any state other than Passed.
In order to verify operational state of the Data Center fabric after adding L3 and L4, you will need to edit the Parameter Files of the respective test cases to include the new devices. There is no need to rerun these test cases now. The next time they will run is when executed in the pipeline after the proposed configuration changes have been pushed.
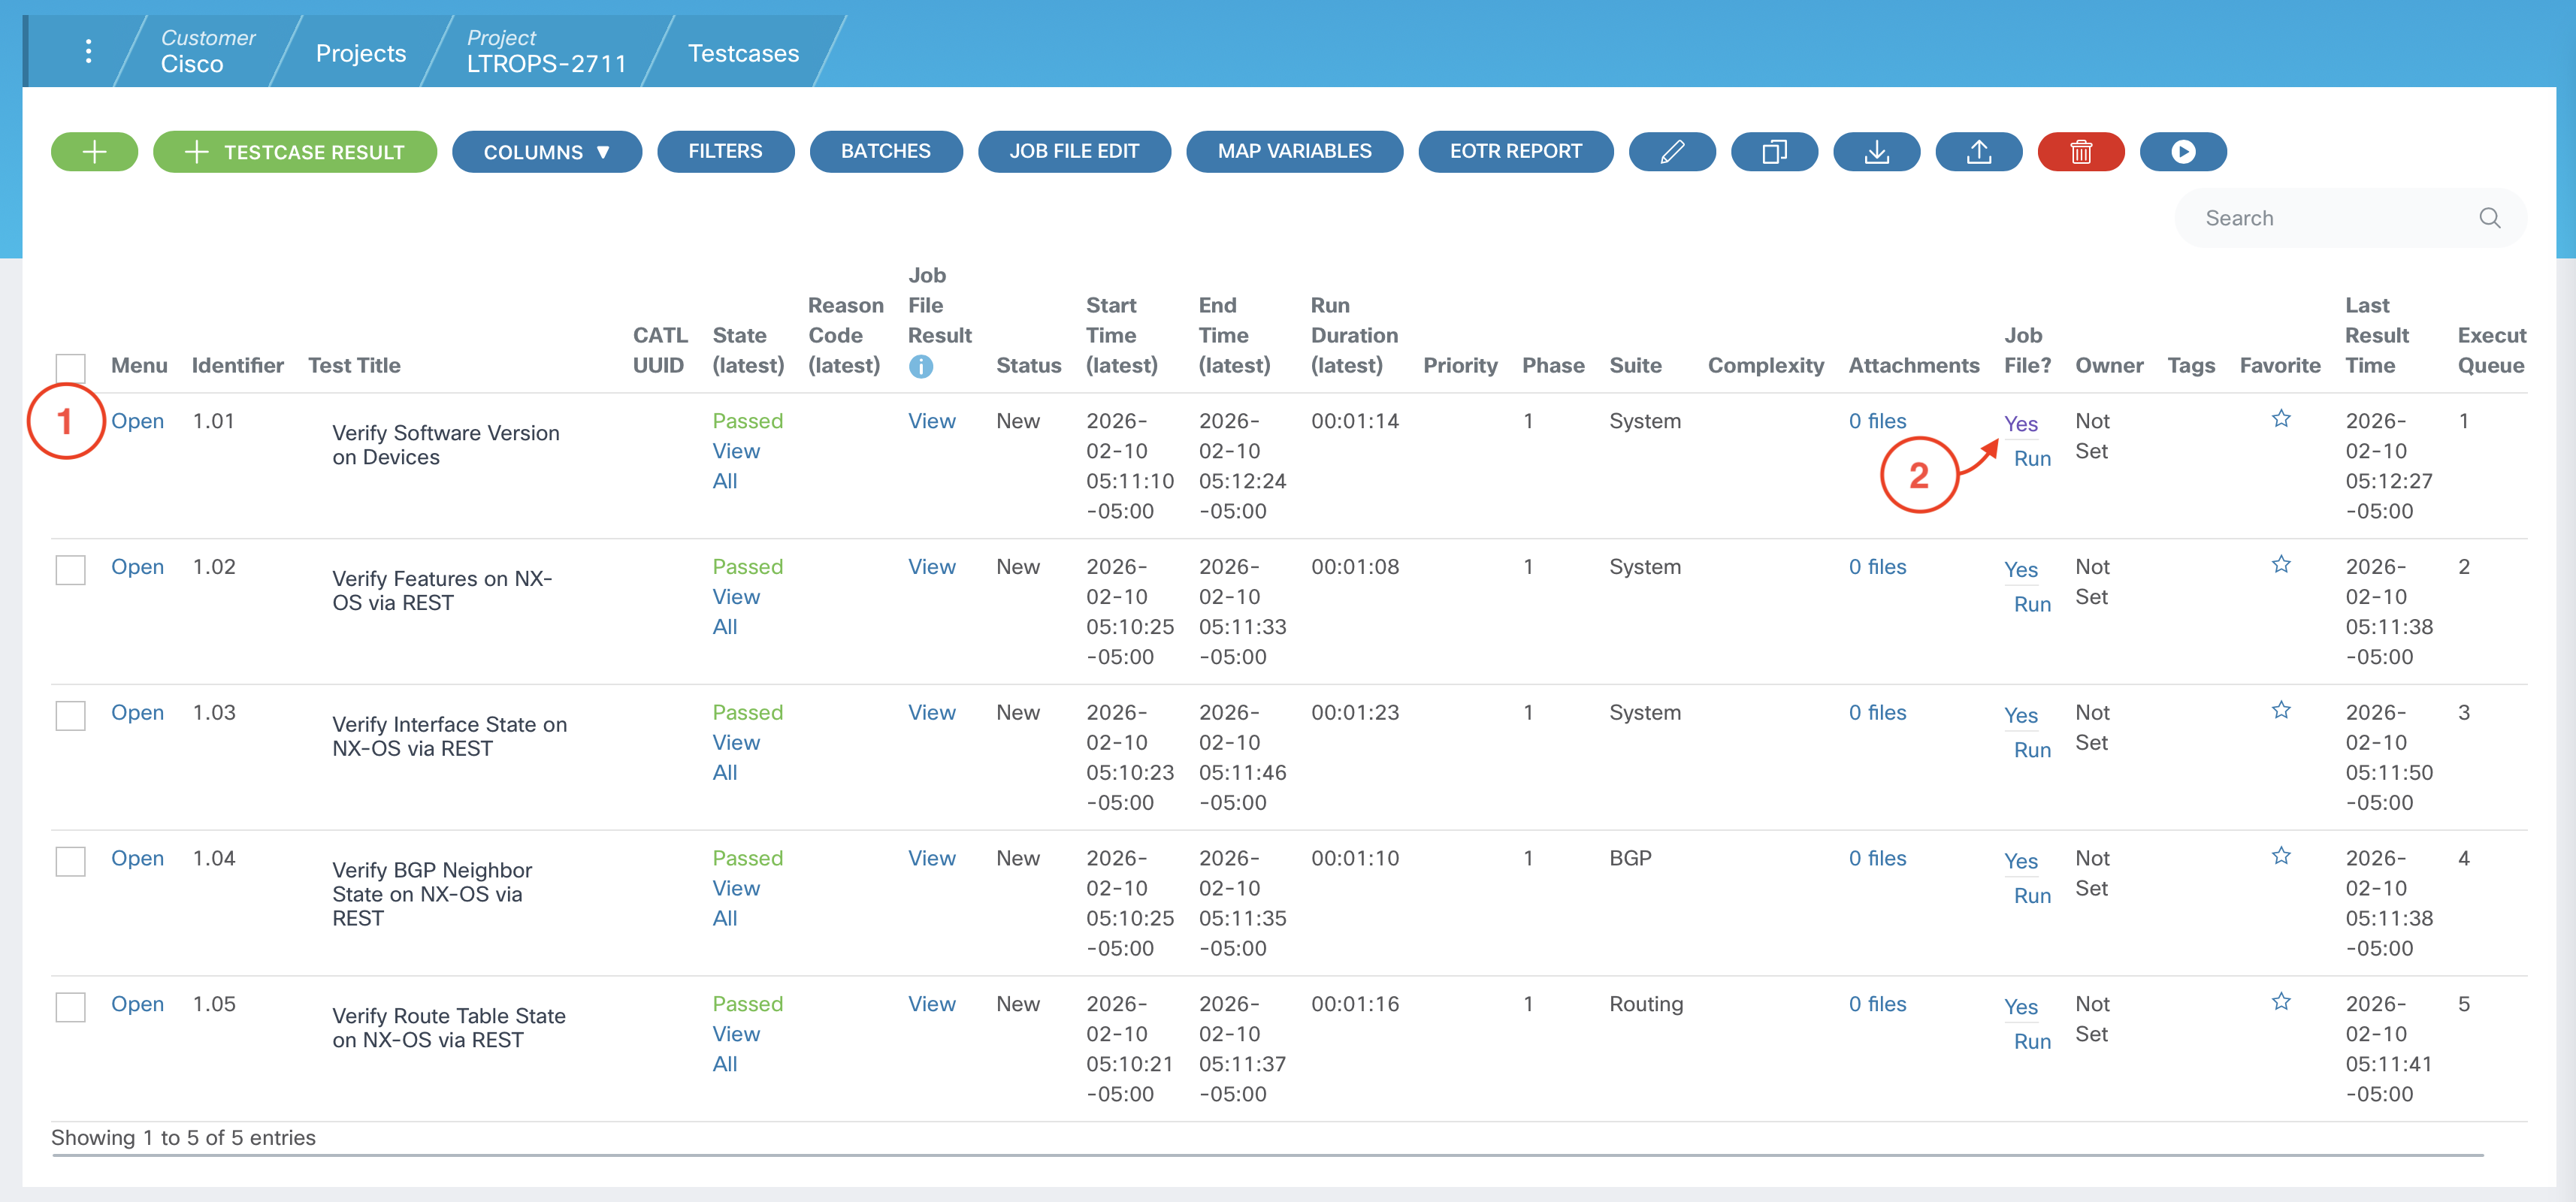
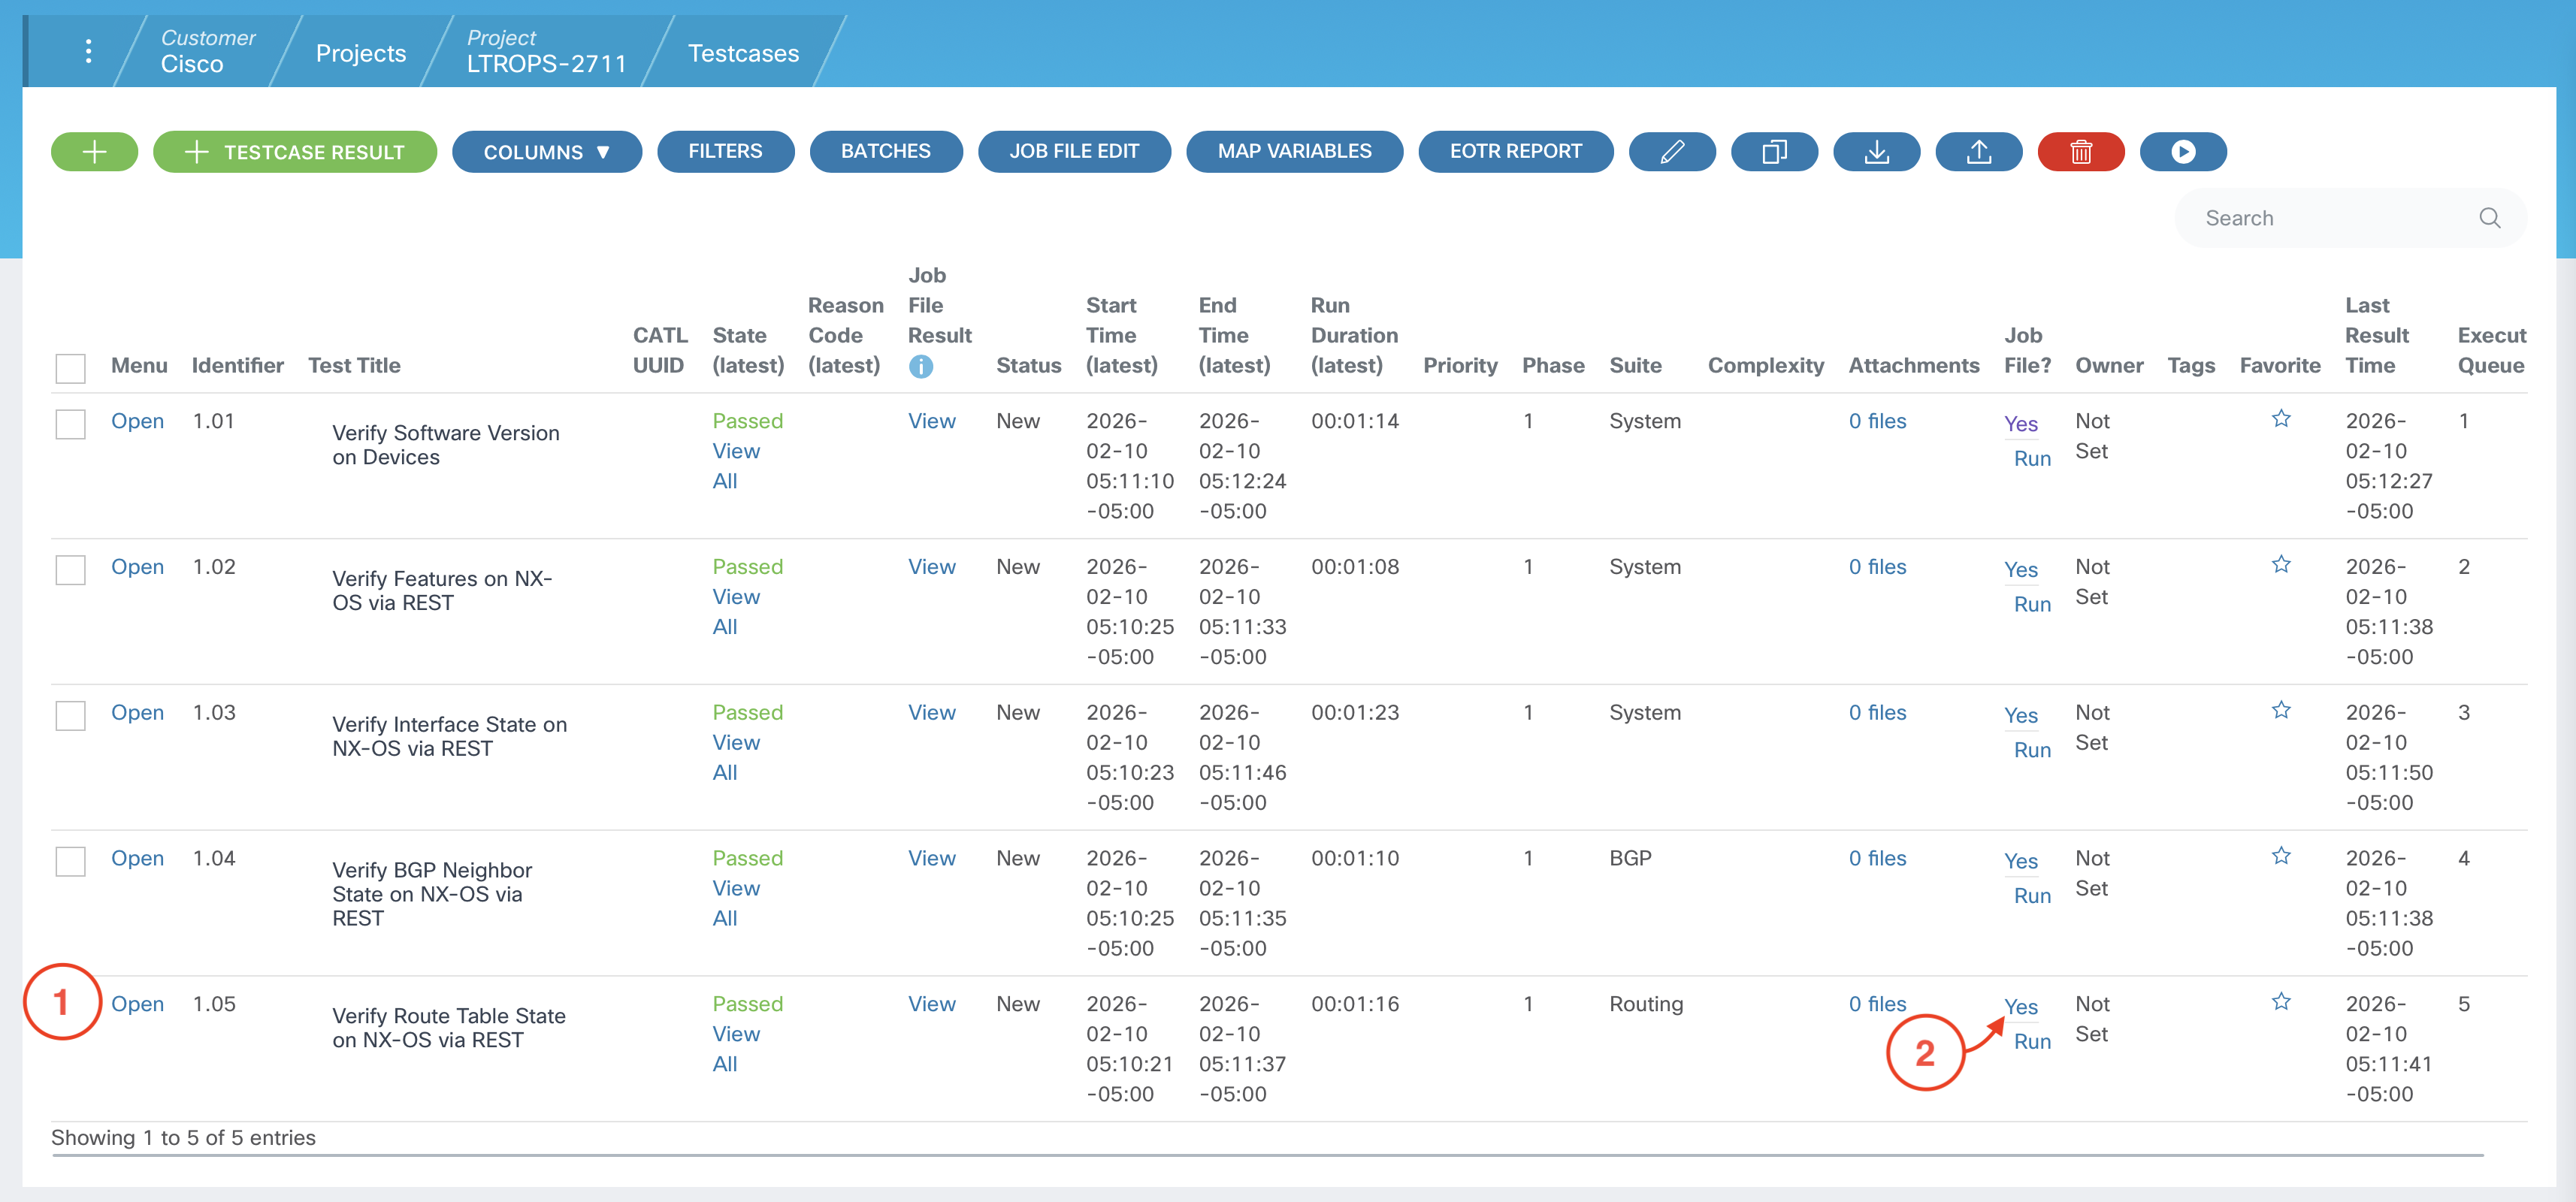
From your project's Test Cases page:

NOTE: You may need to scroll down to see the Parameter File section.
DEVICES:
    - S1
    - S2
    - L1
    - L2
    - L3
    - L4

EXPECTED_VERSION:  10.5(2)


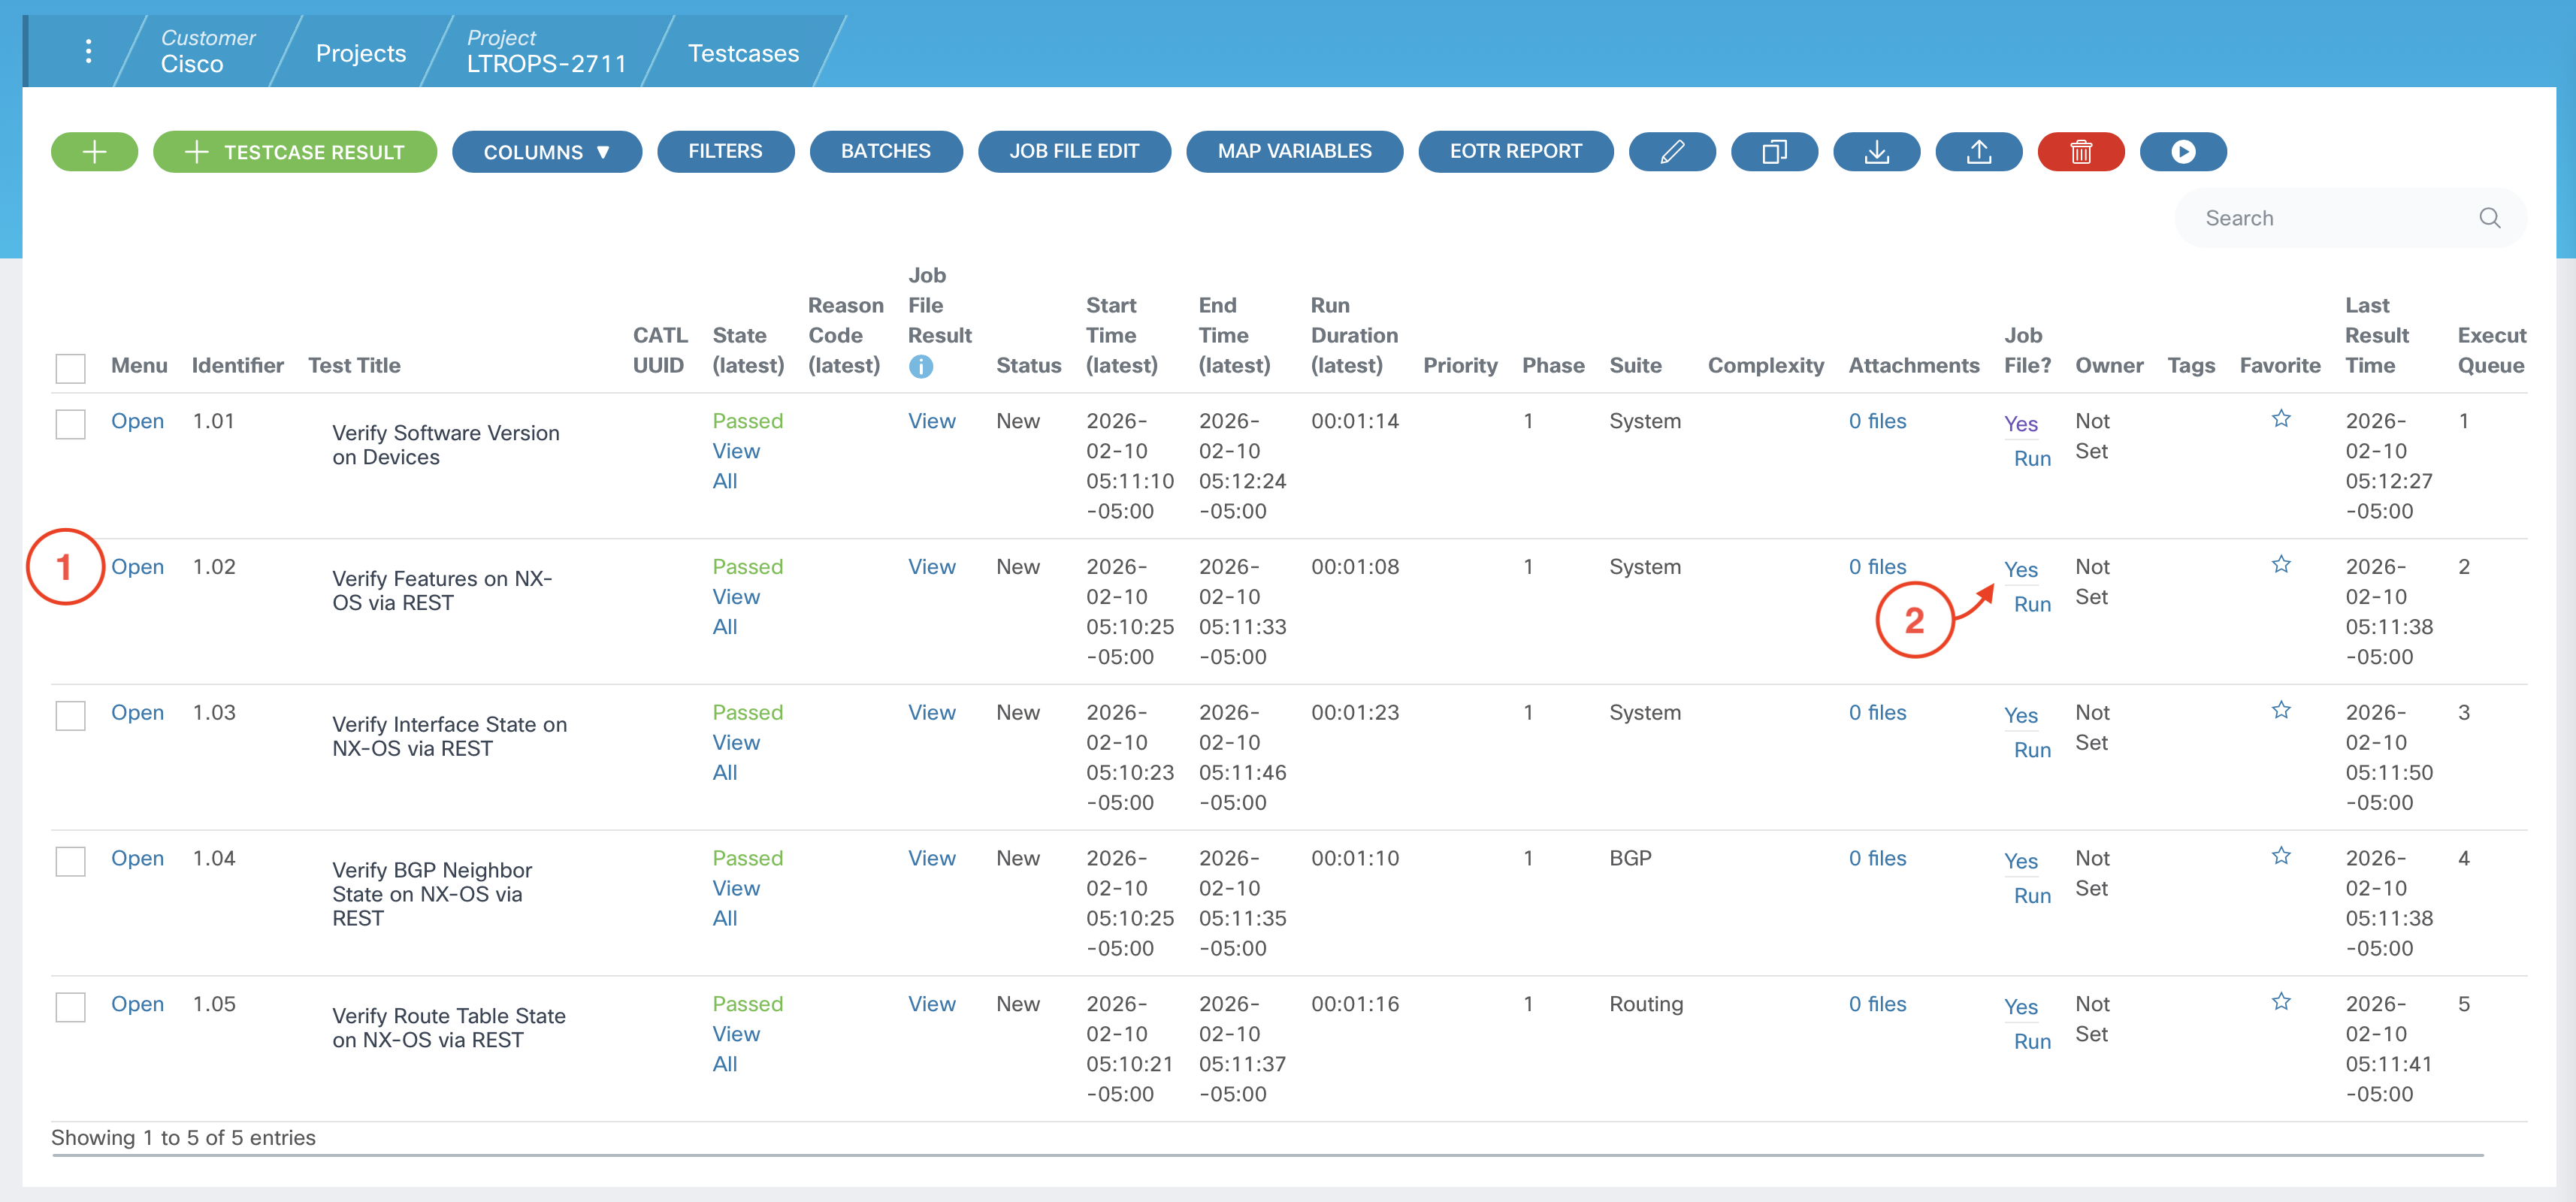
From your project's Test Cases page:

The fabric-expansion branch will be the new feature branch created later in the lab when adding L3 and L4 to the data center fabric.
NOTE: You may need to scroll down to see the Parameter File section.
DEVICES:
    - L1
    - L2
    - L3
    - L4

EXPECTED_FEATURES:
    - bgp
    - interface-vlan
    - lldp

EXPECTED_STATE: enabled


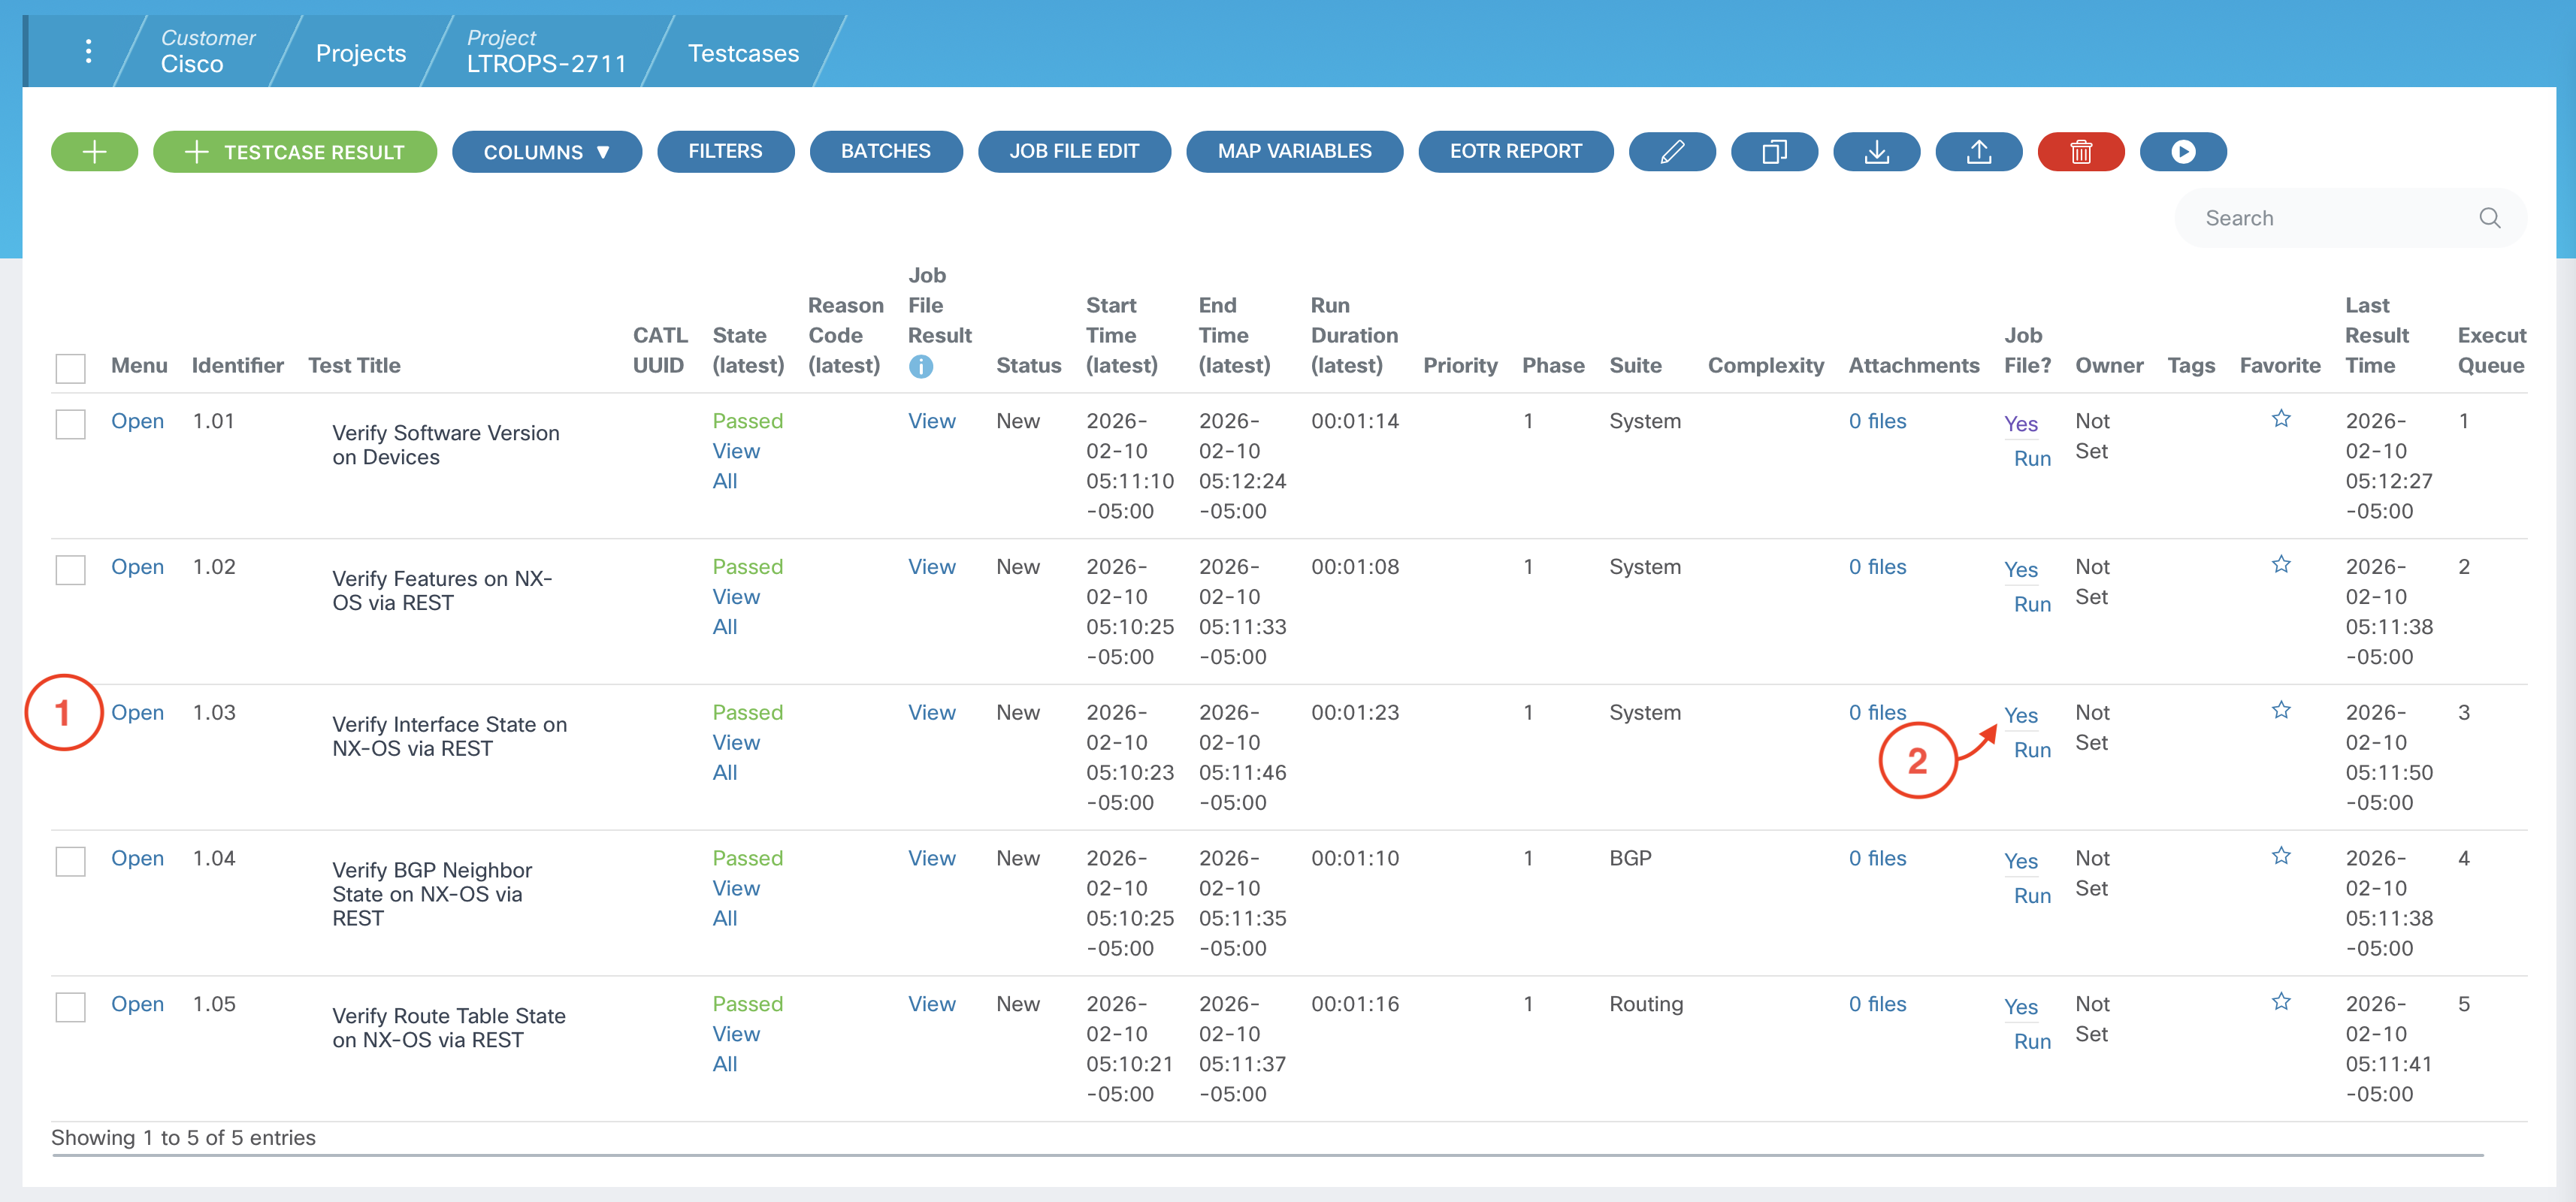
From your project's Test Cases page:
NOTE: You may need to scroll down to see the Parameter File section.
DEVICES_DATA:
    S1:
      INTERFACES:
        - Lo0
        - Eth1/1
        - Eth1/2
        - Eth1/3
        - Eth1/11
        - Eth1/12
        - Eth1/13
    S2:
      INTERFACES:
        - Lo0
        - Eth1/1
        - Eth1/2
        - Eth1/3
        - Eth1/11
        - Eth1/12
        - Eth1/13
    L1:
      INTERFACES:
        - Vlan101
        - Lo0
        - Eth1/29
        - Eth1/30
        - Eth1/31
        - Eth1/32
    L2:
      INTERFACES:
        - Vlan102
        - Lo0
        - Eth1/29
        - Eth1/30
        - Eth1/31
        - Eth1/32
    L3:
      INTERFACES:
        - Vlan103
        - Lo0
        - Eth1/29
        - Eth1/30
        - Eth1/31
        - Eth1/32
    L4:
      INTERFACES:
        - Vlan104
        - Lo0
        - Eth1/29
        - Eth1/30
        - Eth1/31
        - Eth1/32

EXPECTED_STATE: up


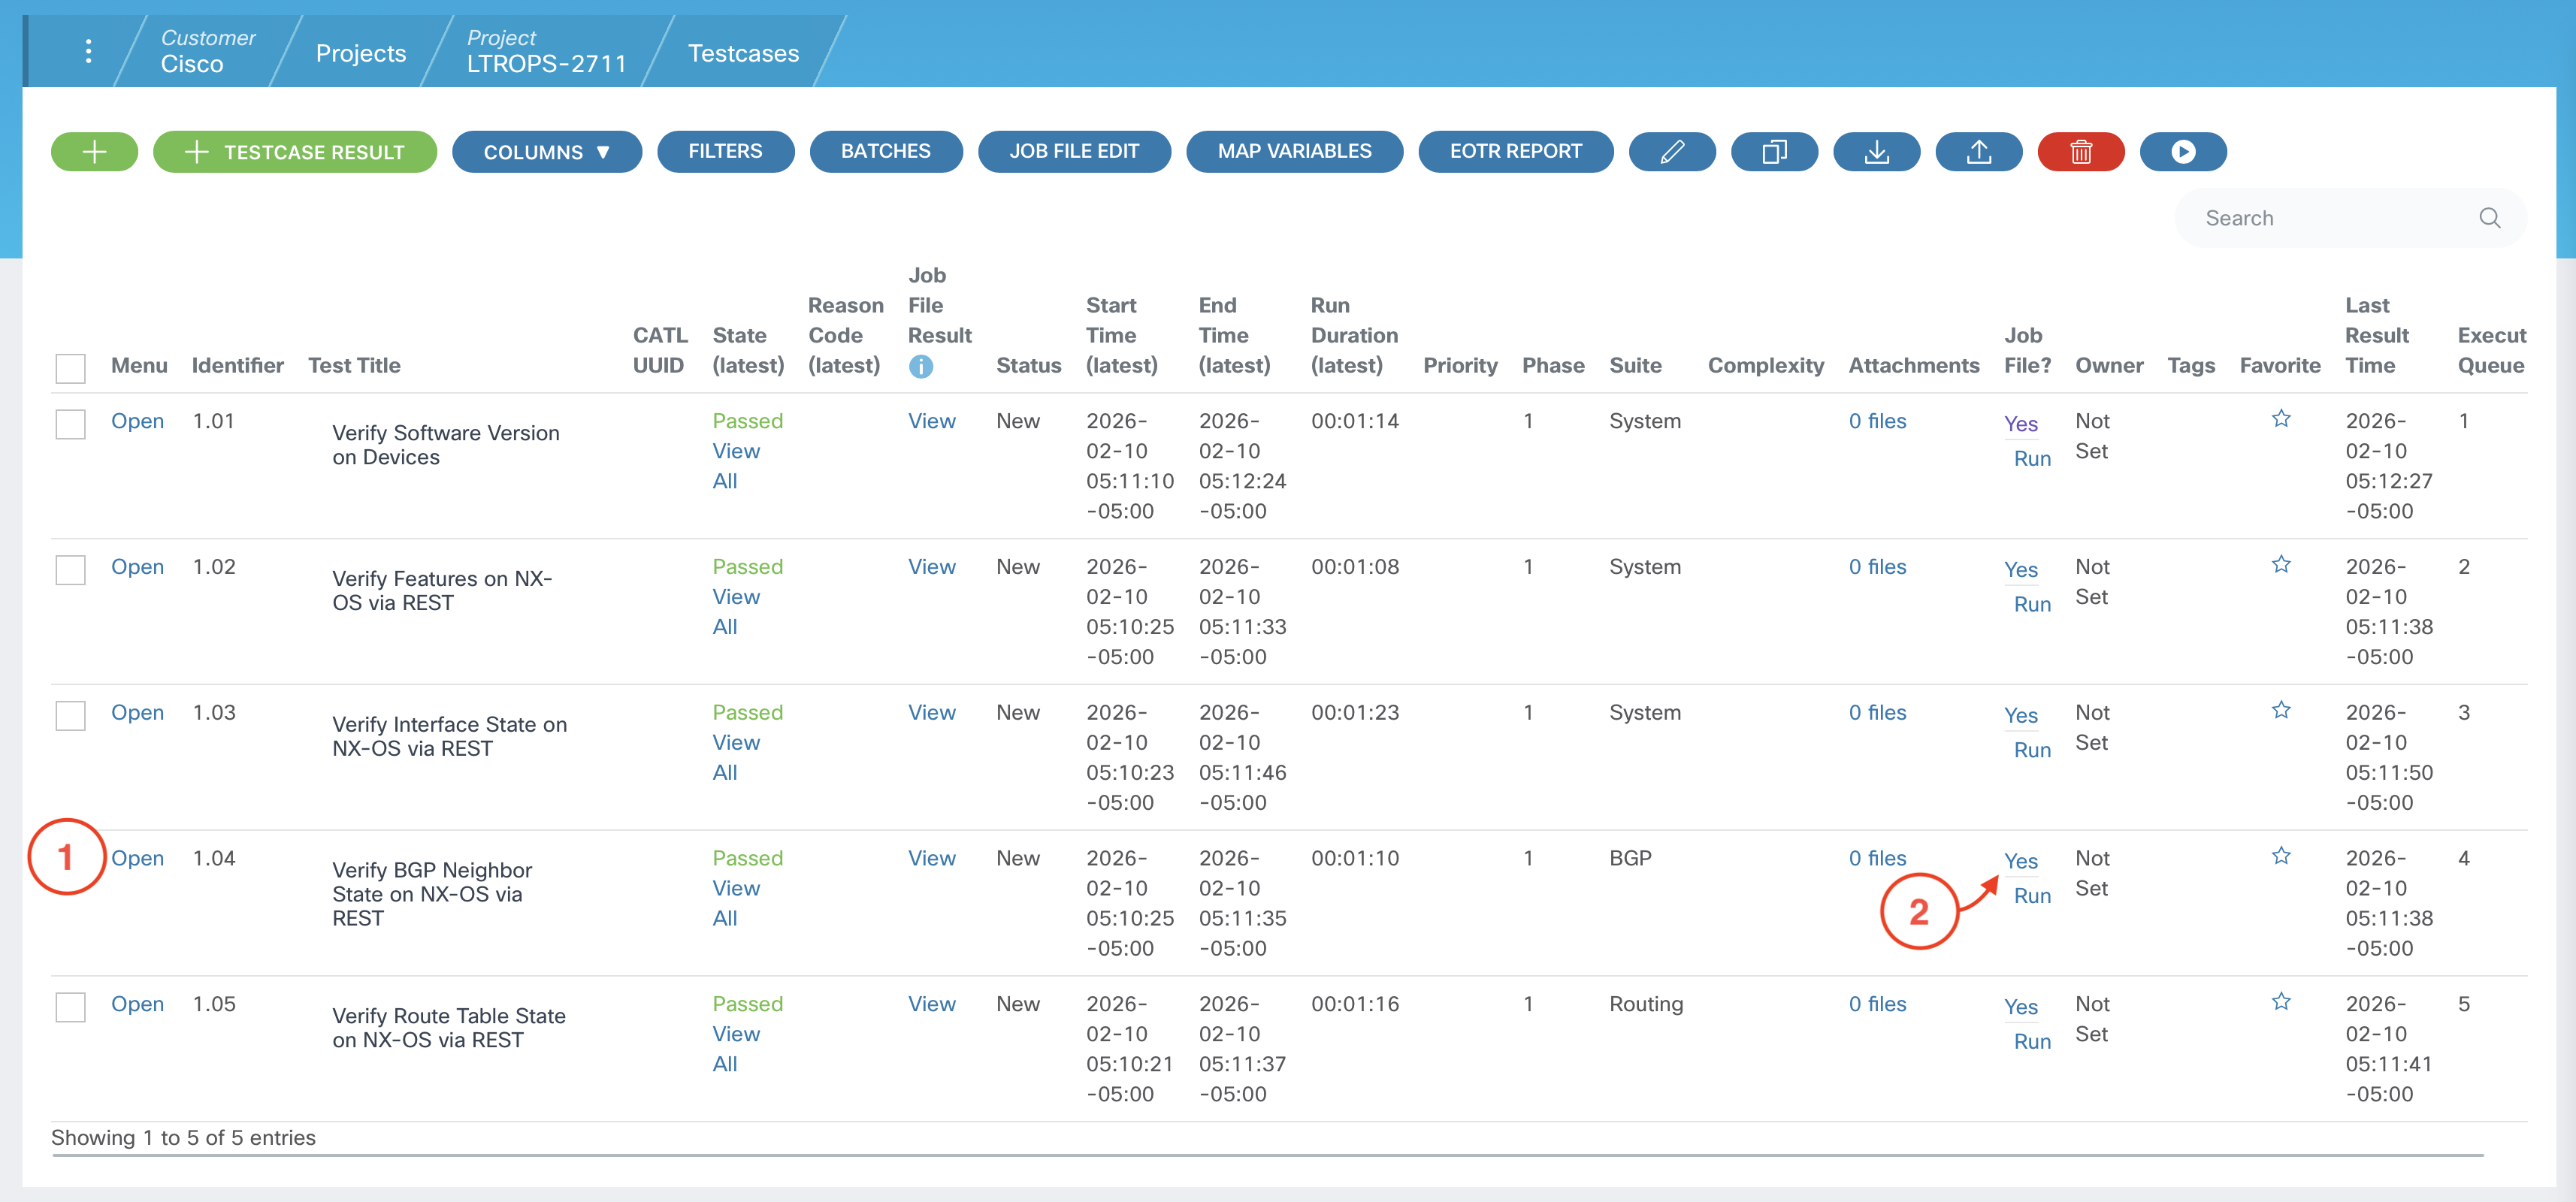
From your project's Test Cases page:
NOTE: You may need to scroll down to see the Parameter File section.
DEVICES:
    - S1
    - S2
    - L1
    - L2
    - L3
    - L4

EXPECTED_STATE: Established


From your project's Test Cases page:
NOTE: You may need to scroll down to see the Parameter File section.
DEVICES:
    - S1
    - S2
    - L1
    - L2
    - L3
    - L4

EXPECTED_ROUTES:
    - 10.0.1.1/32
    - 10.0.2.2/32
    - 10.0.3.3/32
    - 10.0.4.4/32
    - 10.254.101.0/24
    - 10.254.102.0/24
    - 10.254.103.0/24
    - 10.254.104.0/24


Now, that you have successfully run your automated tests through the GUI, and added the devices and other parameters to the applicable test cases, proceed to the next section to enable Webex Notifications when your test case batch runs have completed in the pipeline.