
A NaC repository organizes network configurations, tests, and automation in a structured way. This makes it easy to manage, version control, and deploy network changes safely and consistently. In this lab, you'll work with the LTROPS-2711 repository, which manages the entire data center fabric.
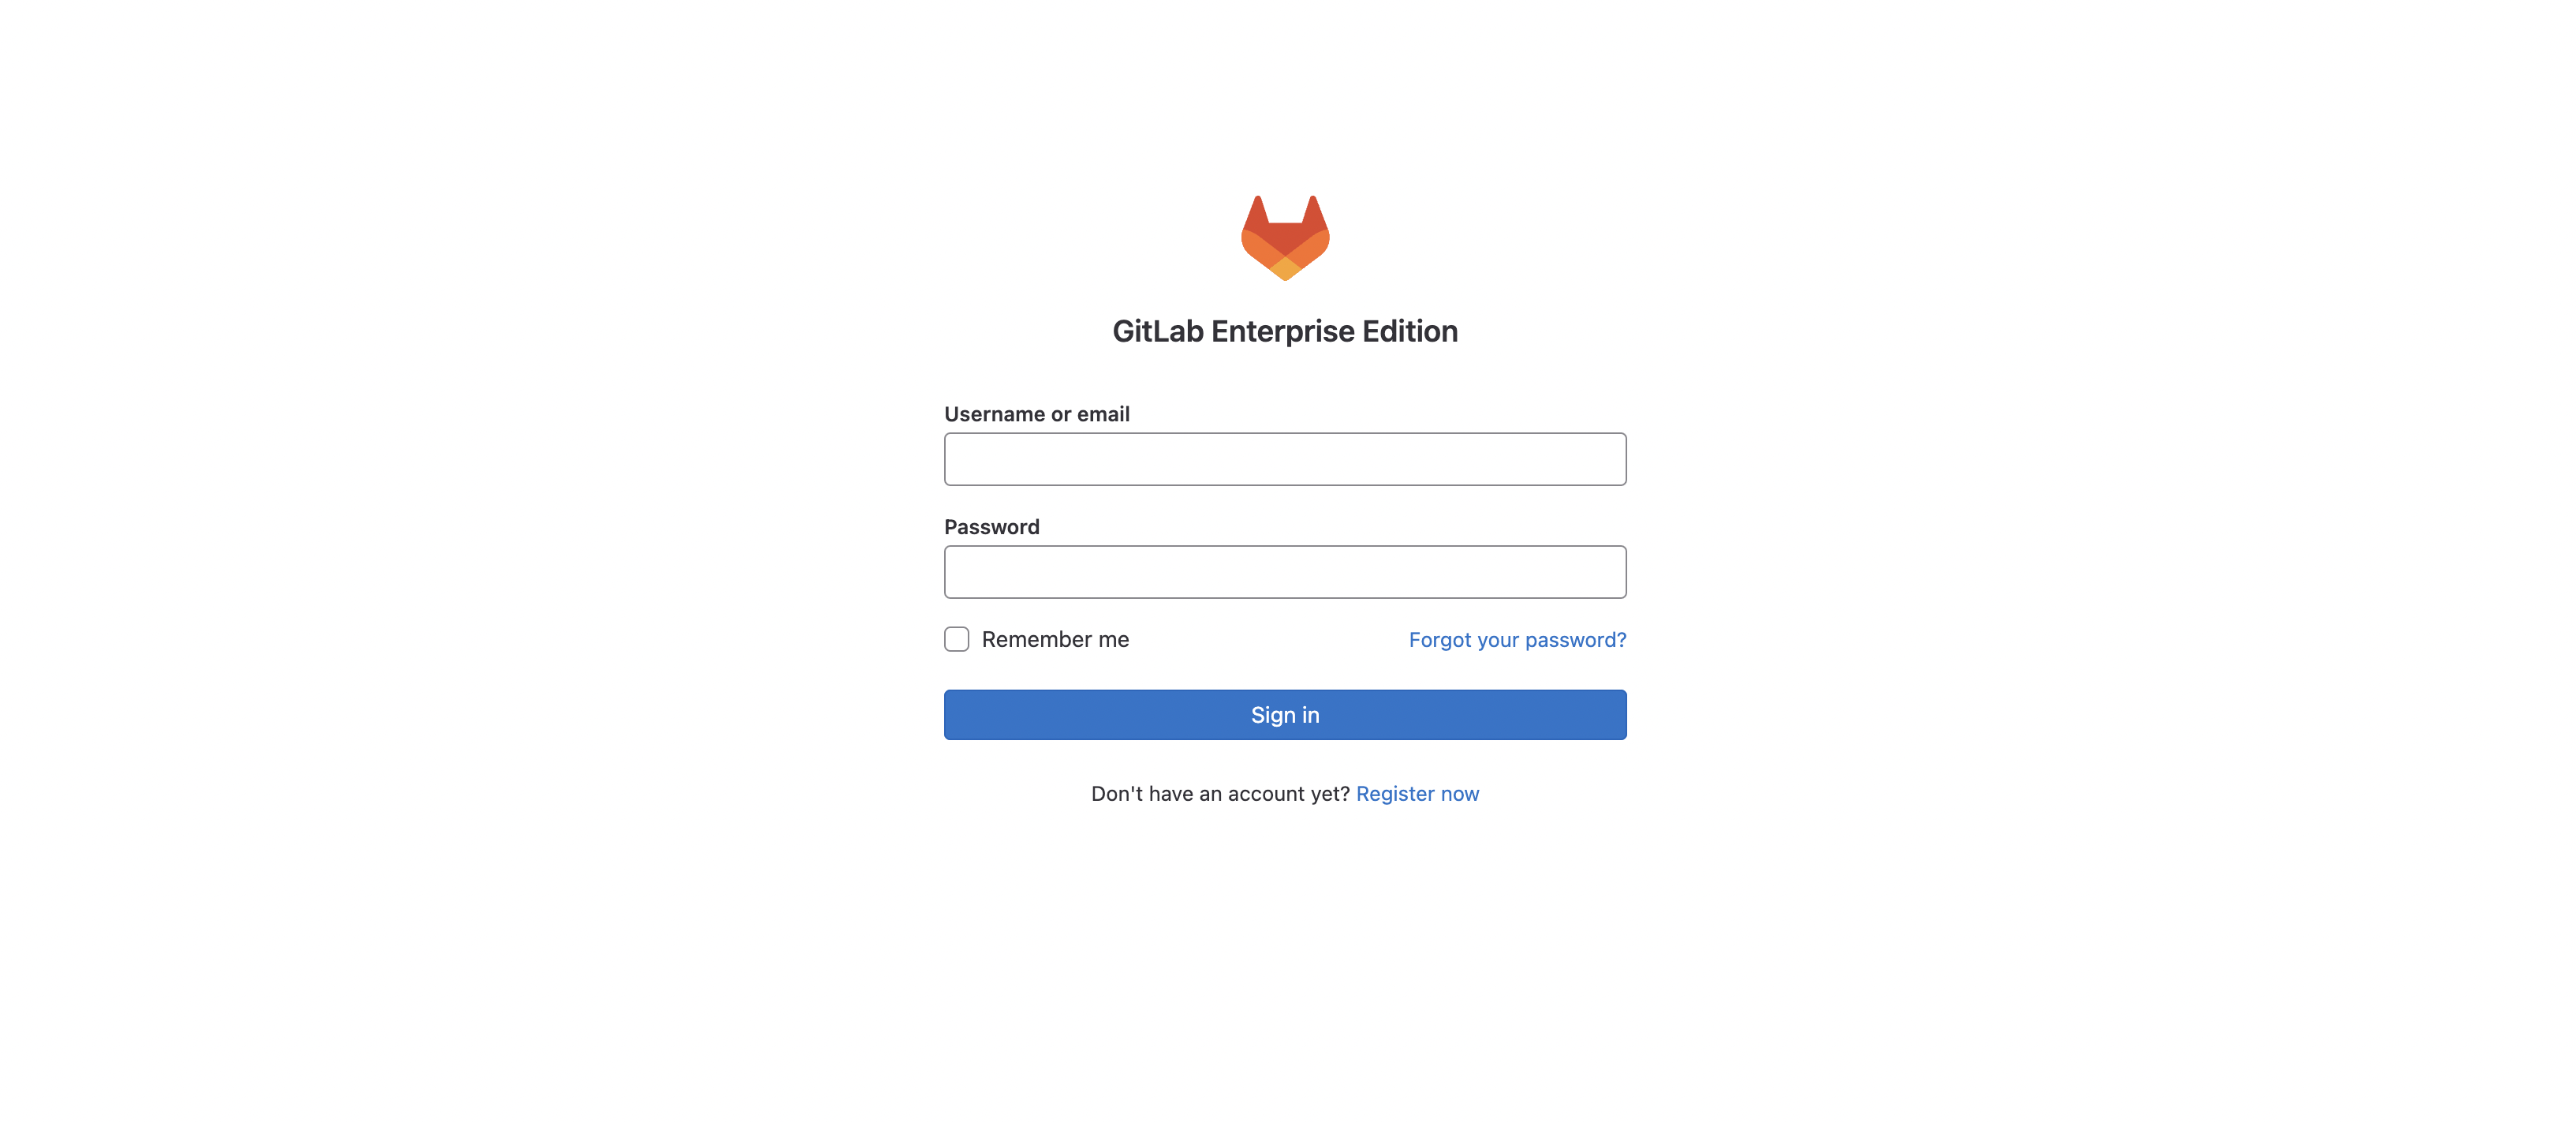
GitLab is a web-based DevOps lifecycle tool that provides Git repository management, issue-tracking, and CI/CD pipeline features using an open-source license. To get started, you will login to the GitLab instance to view the LTROPS-2711 repository.
Login using the information below:
The LTROPS-2711 repository is already created and initialized with the necessary files for the lab. Additional configuration files will be added to the repository as you progress through the lab.
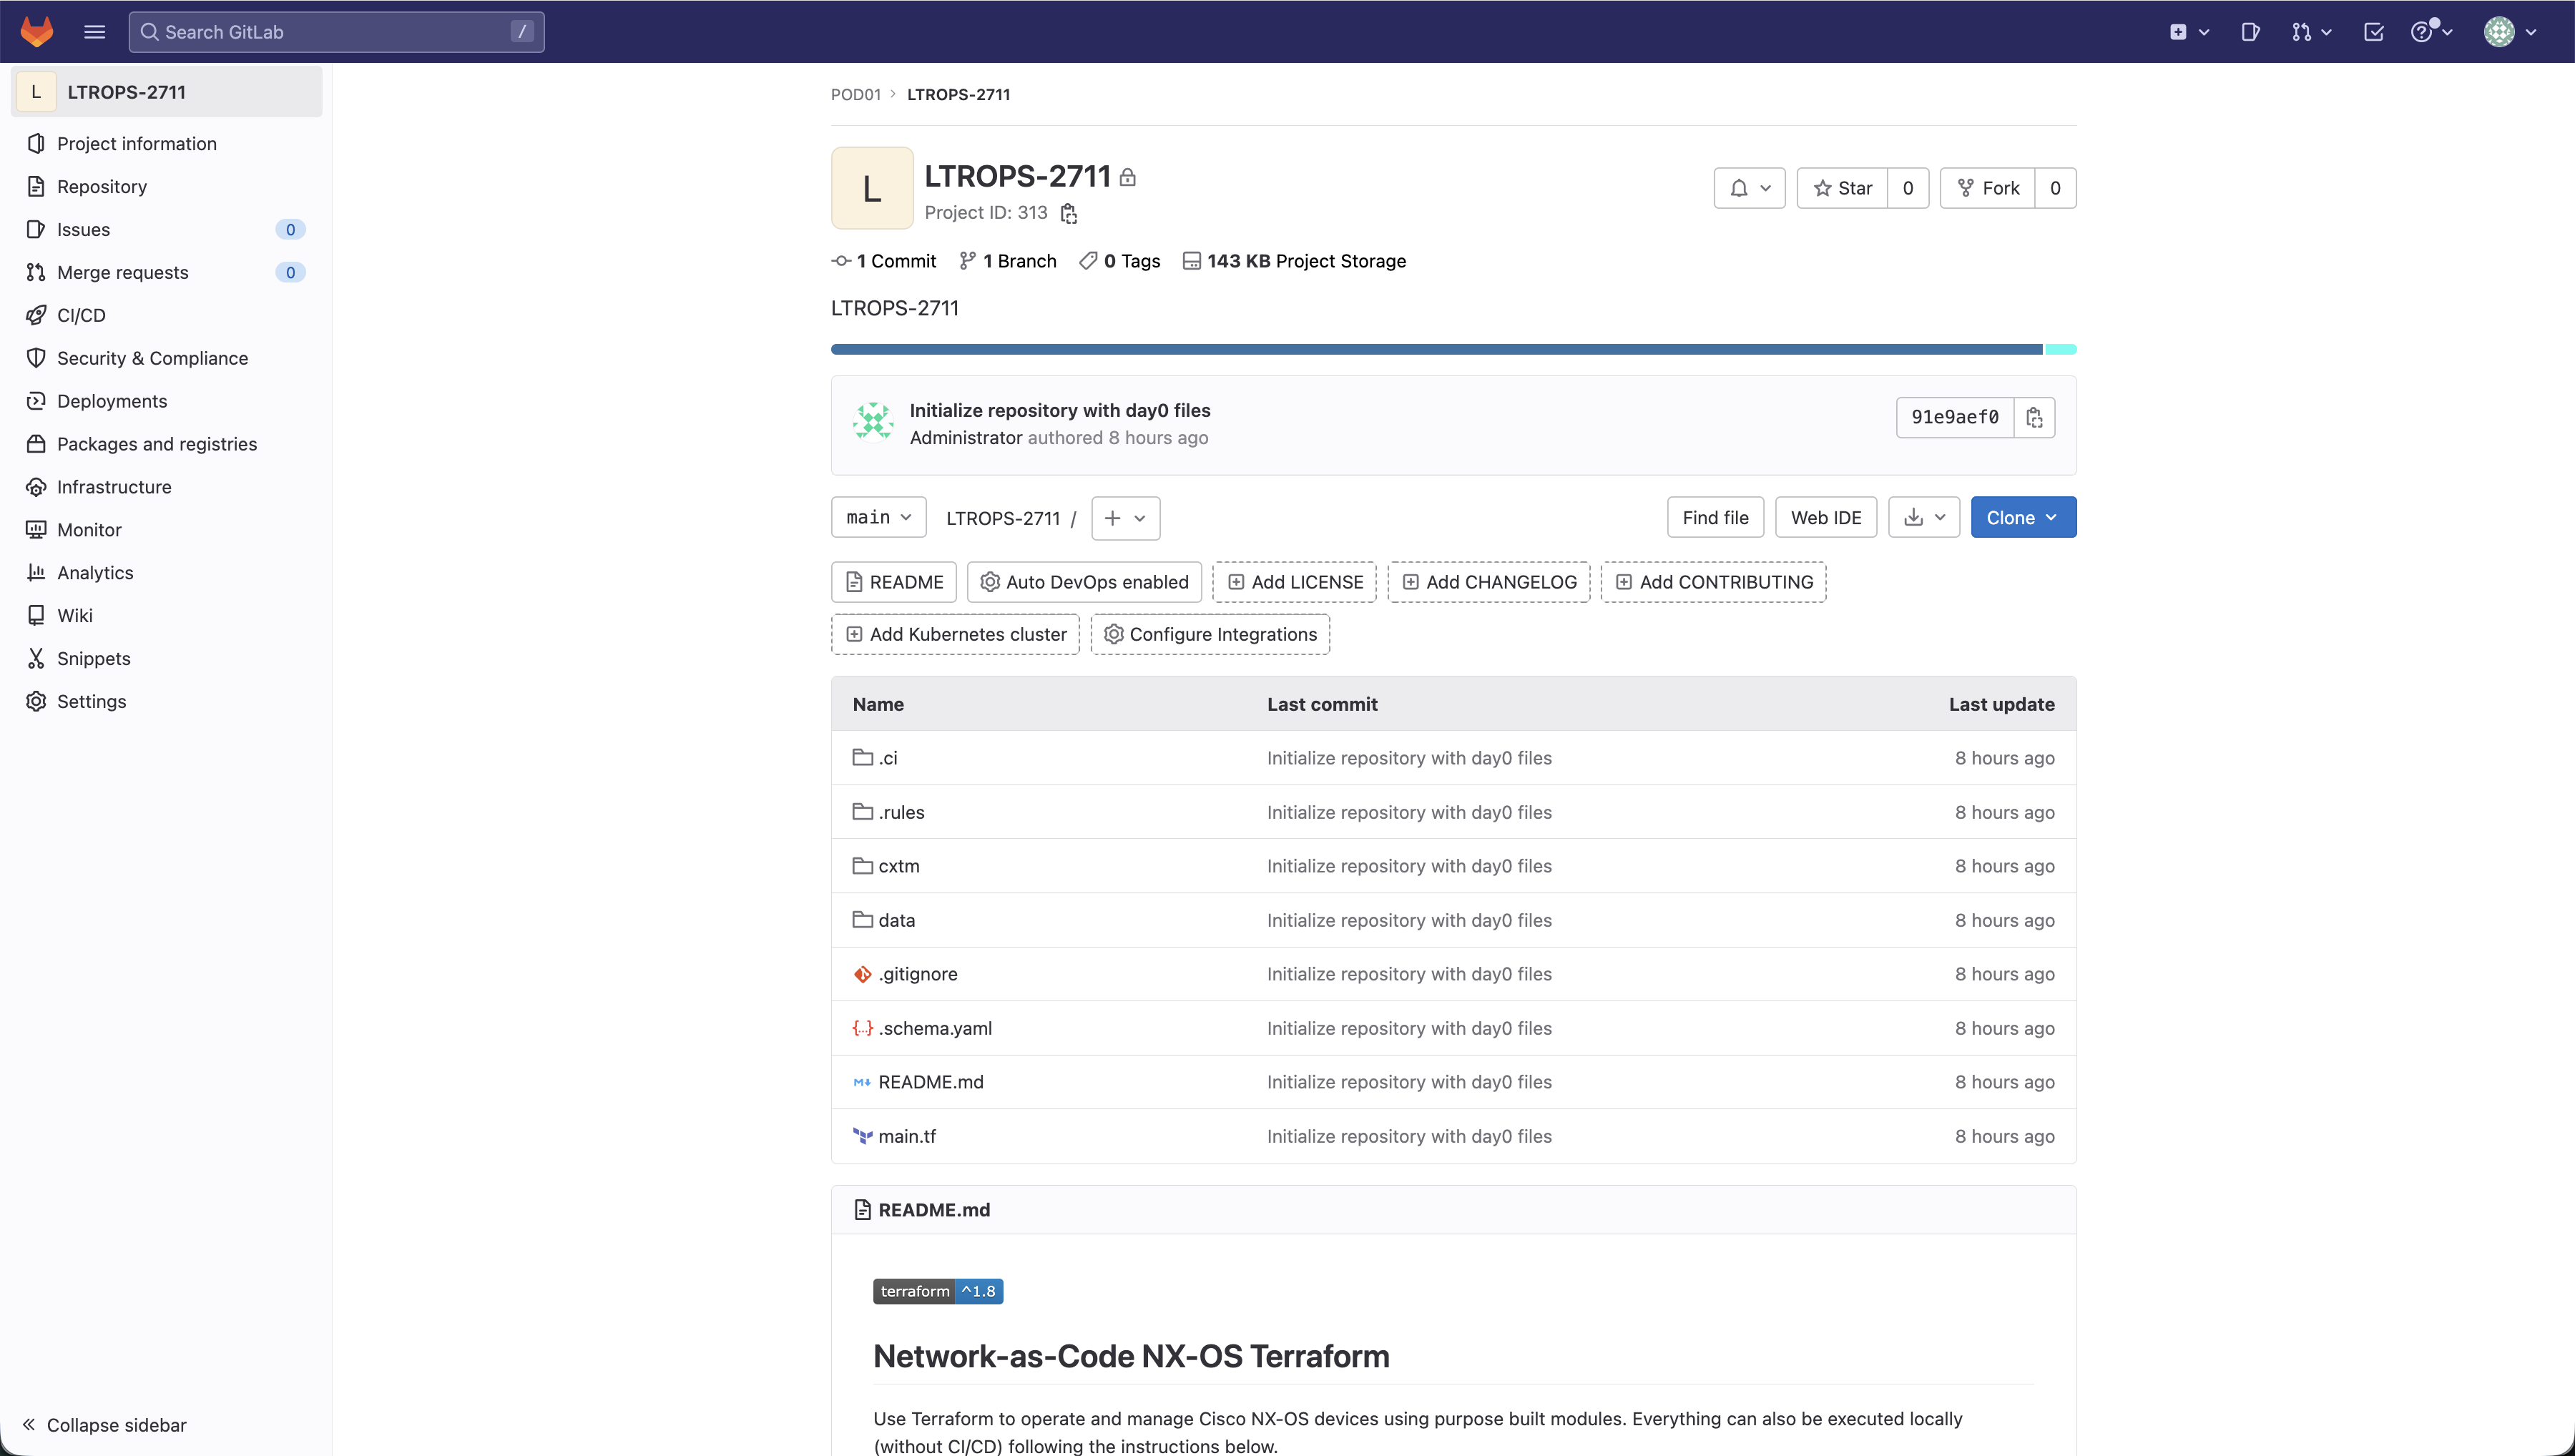
The repository contains these main components:
LTROPS-2711/
├── .ci/
│   └── webex-notification-gitlab.py
├── .rules/
│   └── 101_unique_keys.py
├── cxtm/
├── data/
├── tests/
│   ├── filters/
│   └── templates/
├── .gitignore
├── .schema.yaml
├── main.tf
└── README.md
.ci/ - Contains reusable scripts that perform specific pipeline tasks. The webex-notification-gitlab.py script is called by the .gitlab-ci.yml pipeline stages to send notifications about pipeline execution results.
.rules/ - Contains scripts that define conditional logic when pipeline jobs are run.
cxtm/ - This is where you will add Robot Framework test cases to validate network functionality after configuration changes are deployed. These automated tests ensure the network is operating as expected.
data/ - Stores individual YAML files for each network device. These files define the desired state of each device's configuration in a human-readable format. You'll be adding and maintaining the configuration files for all the devices in the lab topology during the lab exercises.
tests/ - Contains additional Robot tests that support the automated testing for validating network configurations.
.schema.yaml - Defines the data model rules for all network device configurations. This schema ensures that YAML configuration files follow a consistent structure and contain valid parameters.
main.tf - The primary Terraform configuration file that orchestrates the deployment of your Nexus fabric. It defines the Terraform backend for state management and declares the NX-OS module that processes all YAML files in the data/ directory to generate and apply device configurations.
.gitlab-ci.yml - You will add this file later in the lab. It defines the CI/CD pipeline that automates the entire workflow through six stages: validate (check YAML files for errors), plan (preview what changes will be made), deploy (apply changes to devices), test (run configuration verification tests to verify successful configuration instantiation), cxtm (run CXTM tests to verify successful operational state), and notify (send results to your team). This ensures every change is tested before reaching your production network.
Visual Studio Code is an interactive development environment (IDE) or simply, a code editor. You may hear Visual Studio Code referenced as VS Code or just code in the industry. VS Code is free to use for many types of development and supports various extensions for syntax checking and highlighting depending on the code language you are working with. For this lab, you will be working primarily with YAML file types. You will leverage VS Code as your code editor and GitLab's CI pipeline as your runtime environment.
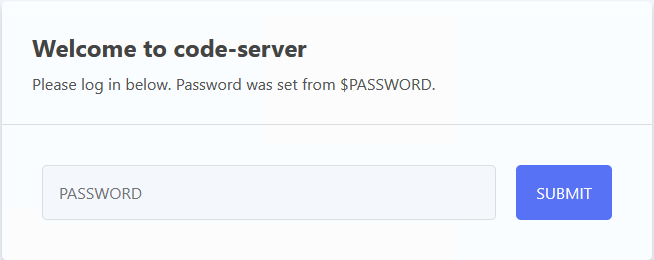
The VS Code Server is a web-based IDE version that provides a development environment for this lab.
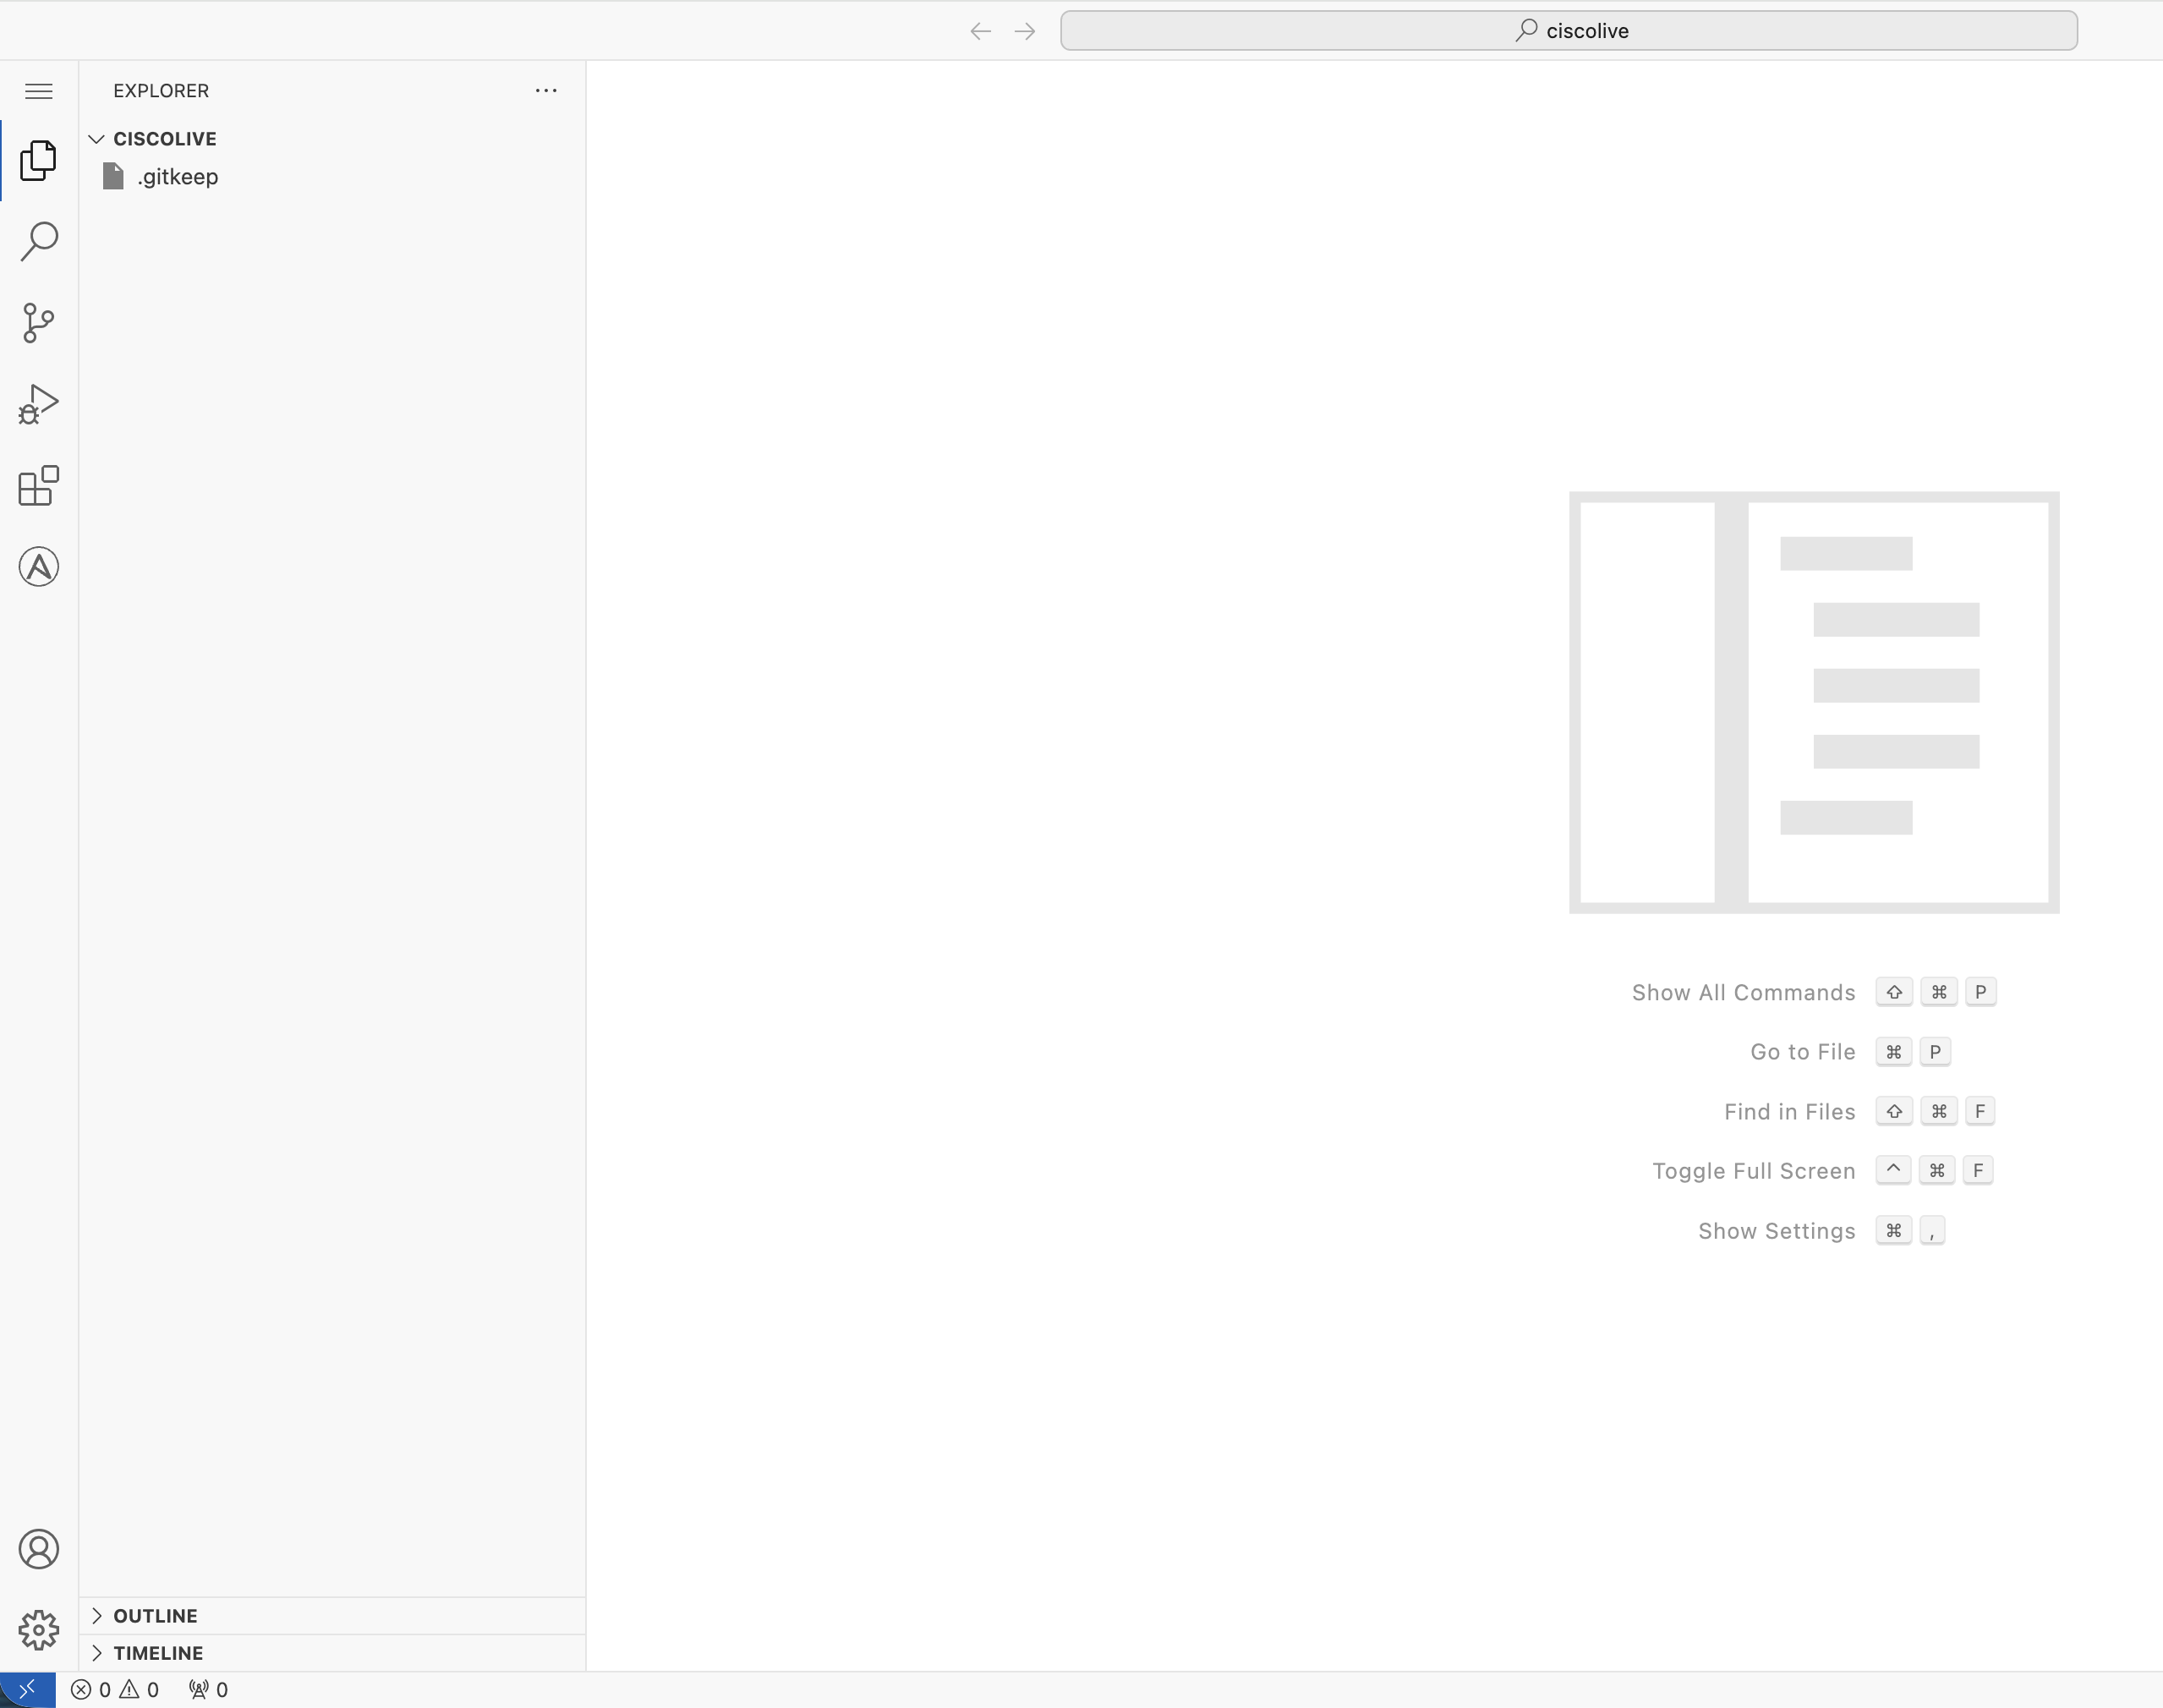

If the keyboard shortcut above does not work, please open the VS Code Server hamburger menu and click Terminal > New Terminal
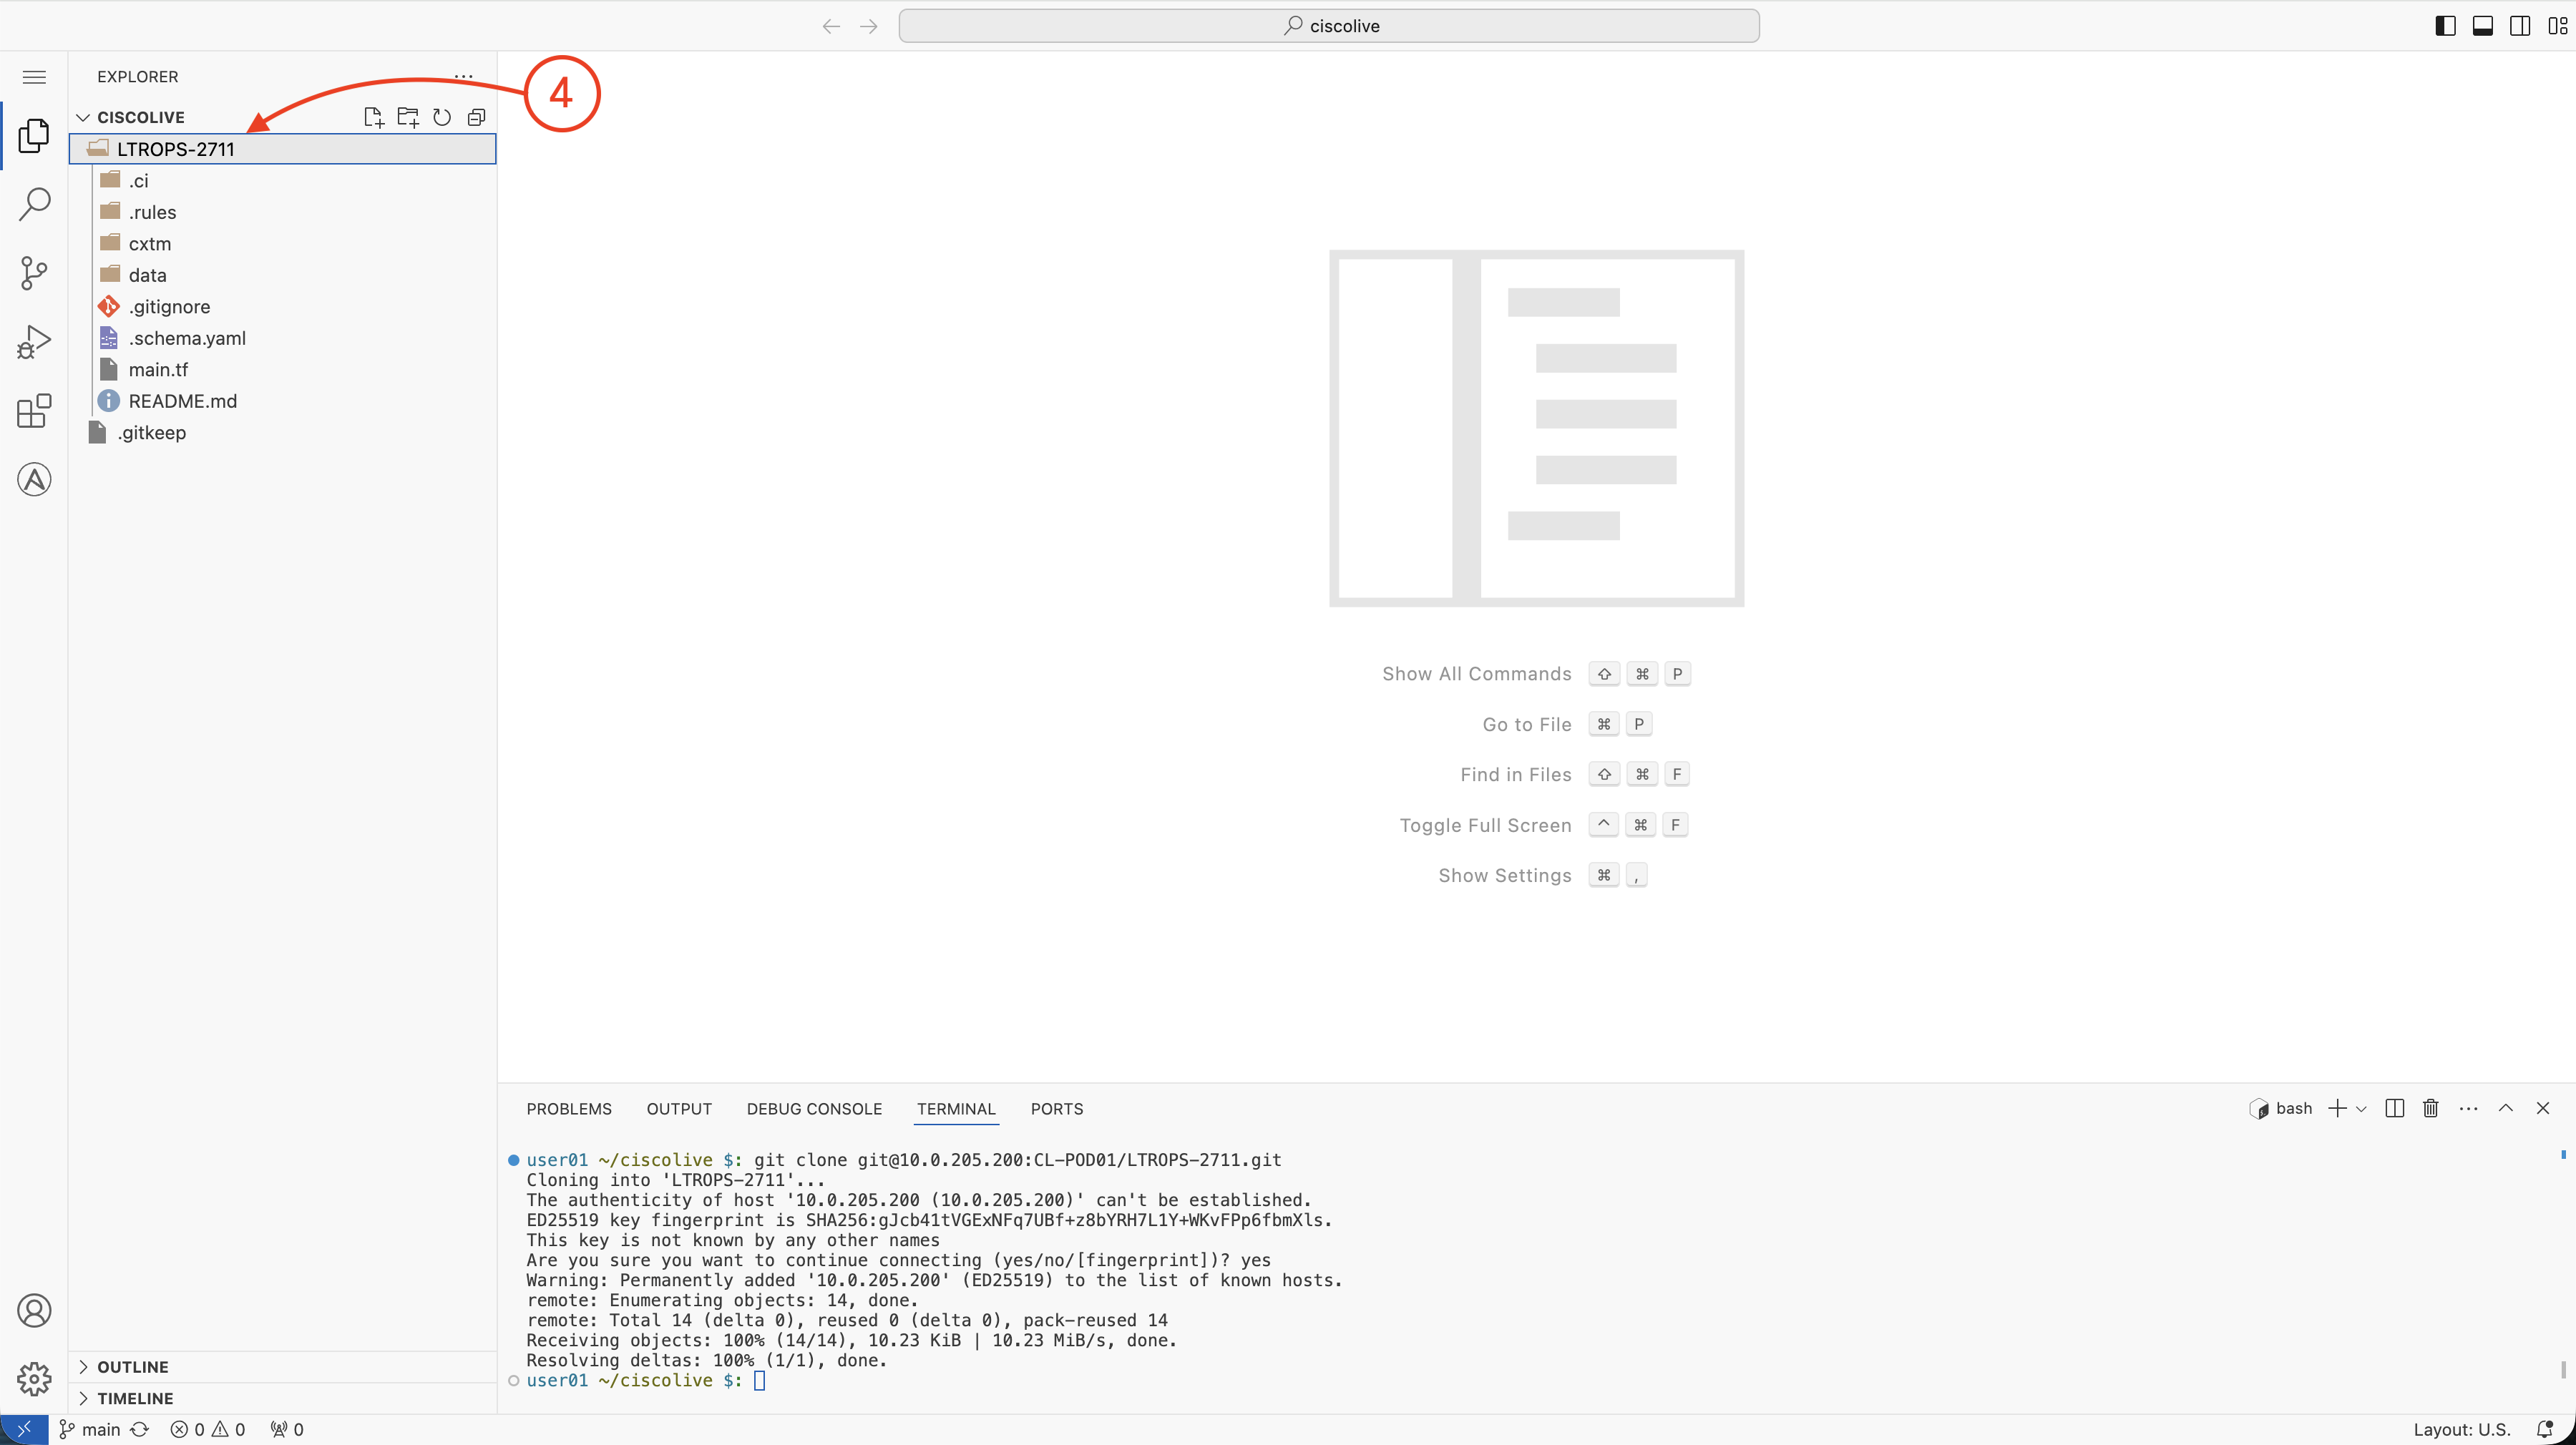
git clone git@cait-gitlab.svsrtpdmz.cisco.com:CL-POD07/LTROPS-2711.git
The authenticity of host 'cait-gitlab.svsrtpdmz.cisco.com (10.0.205.200)' can't be established.
ED25519 key fingerprint is SHA256:gJcb41tVGExNFq7UBf+z8bYRH7L1Y+WKvFPp6fbmXls.
This key is not known by any other names
Are you sure you want to continue connecting (yes/no/[fingerprint])? yes
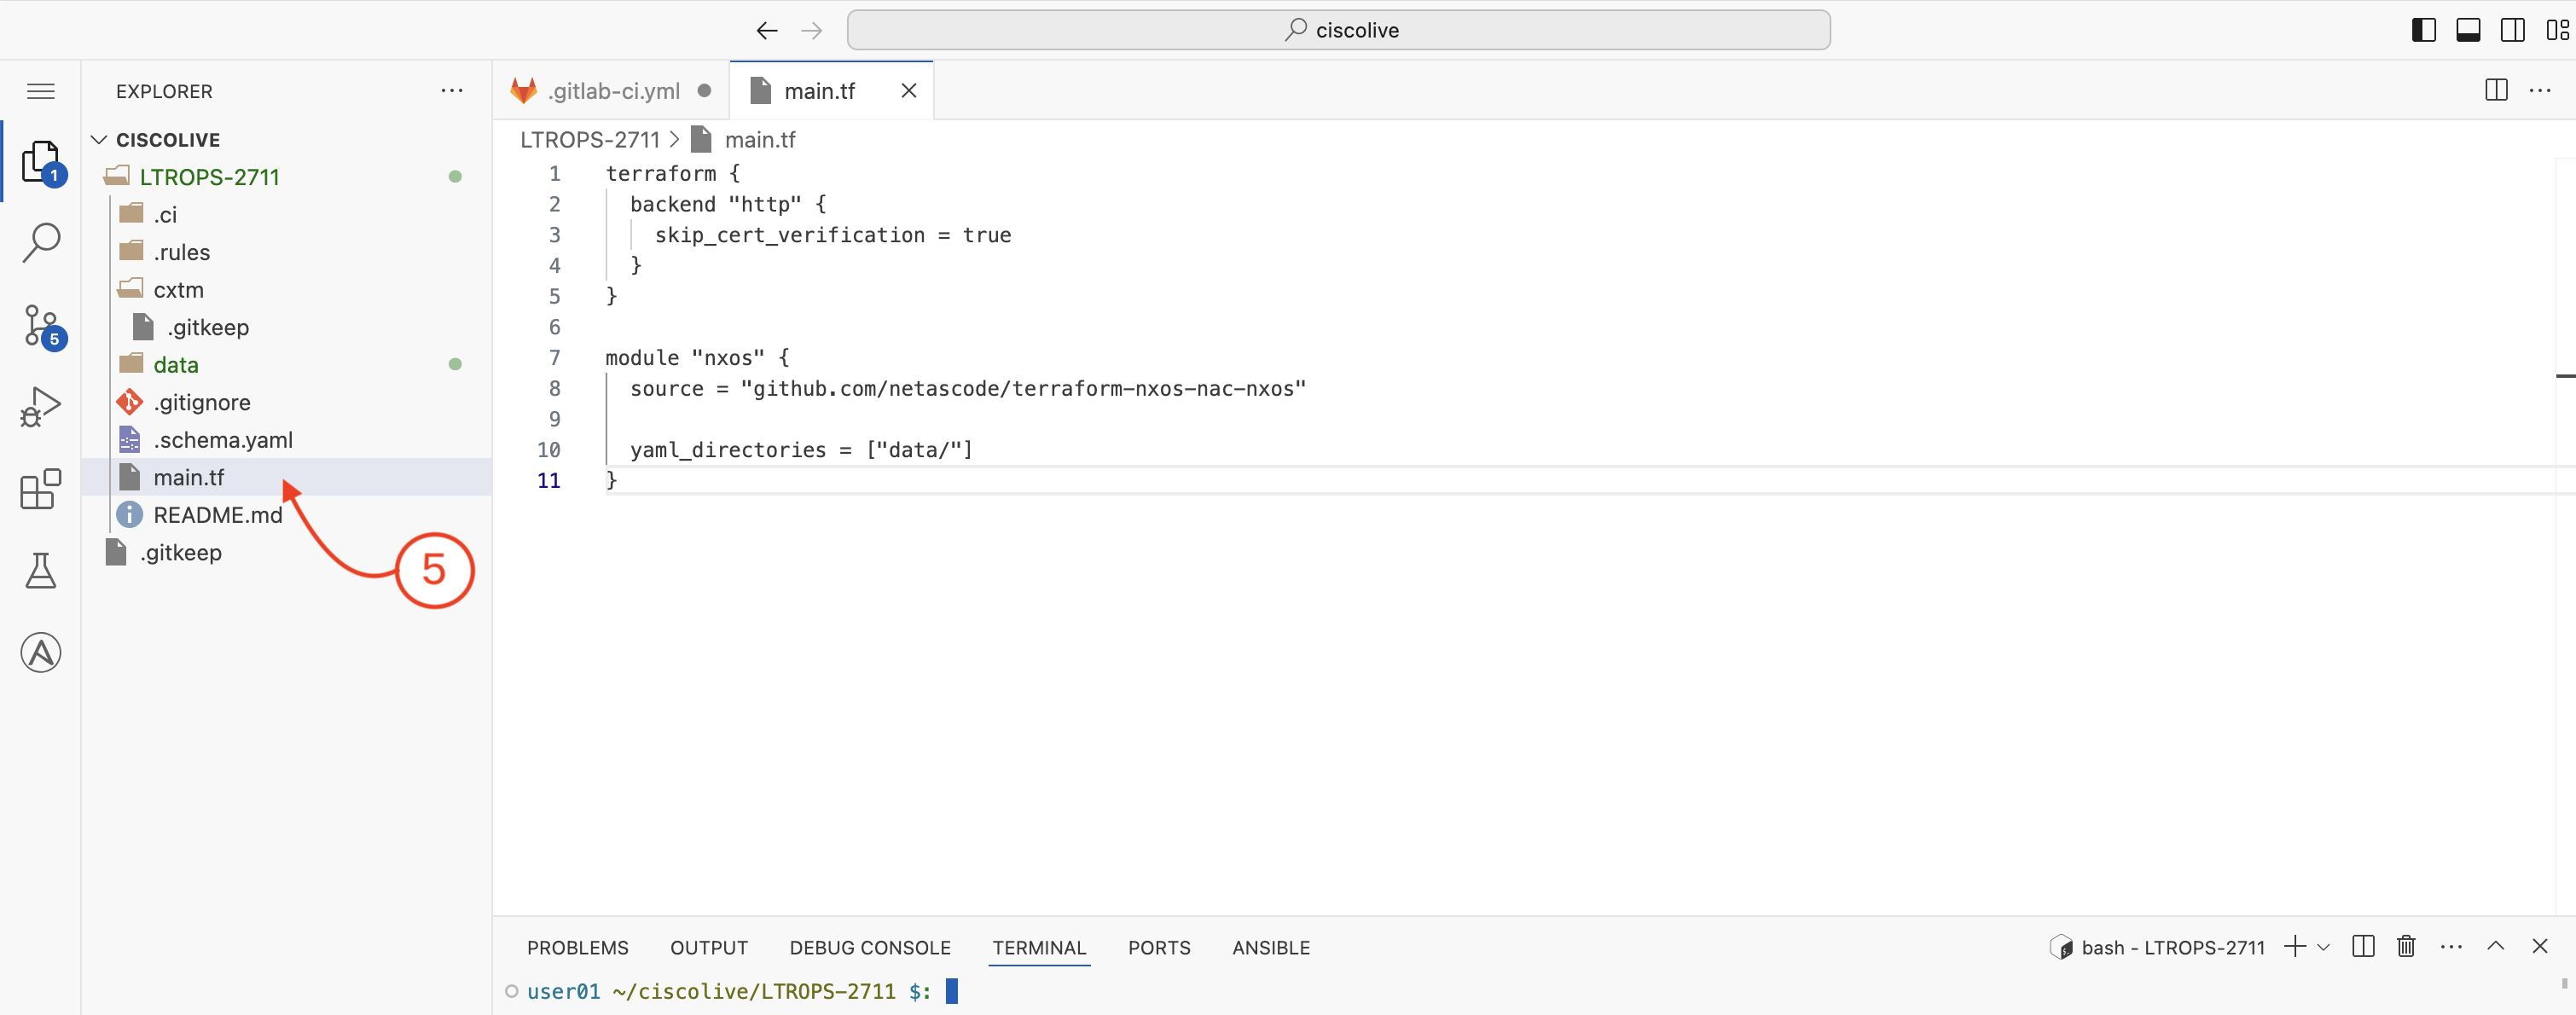
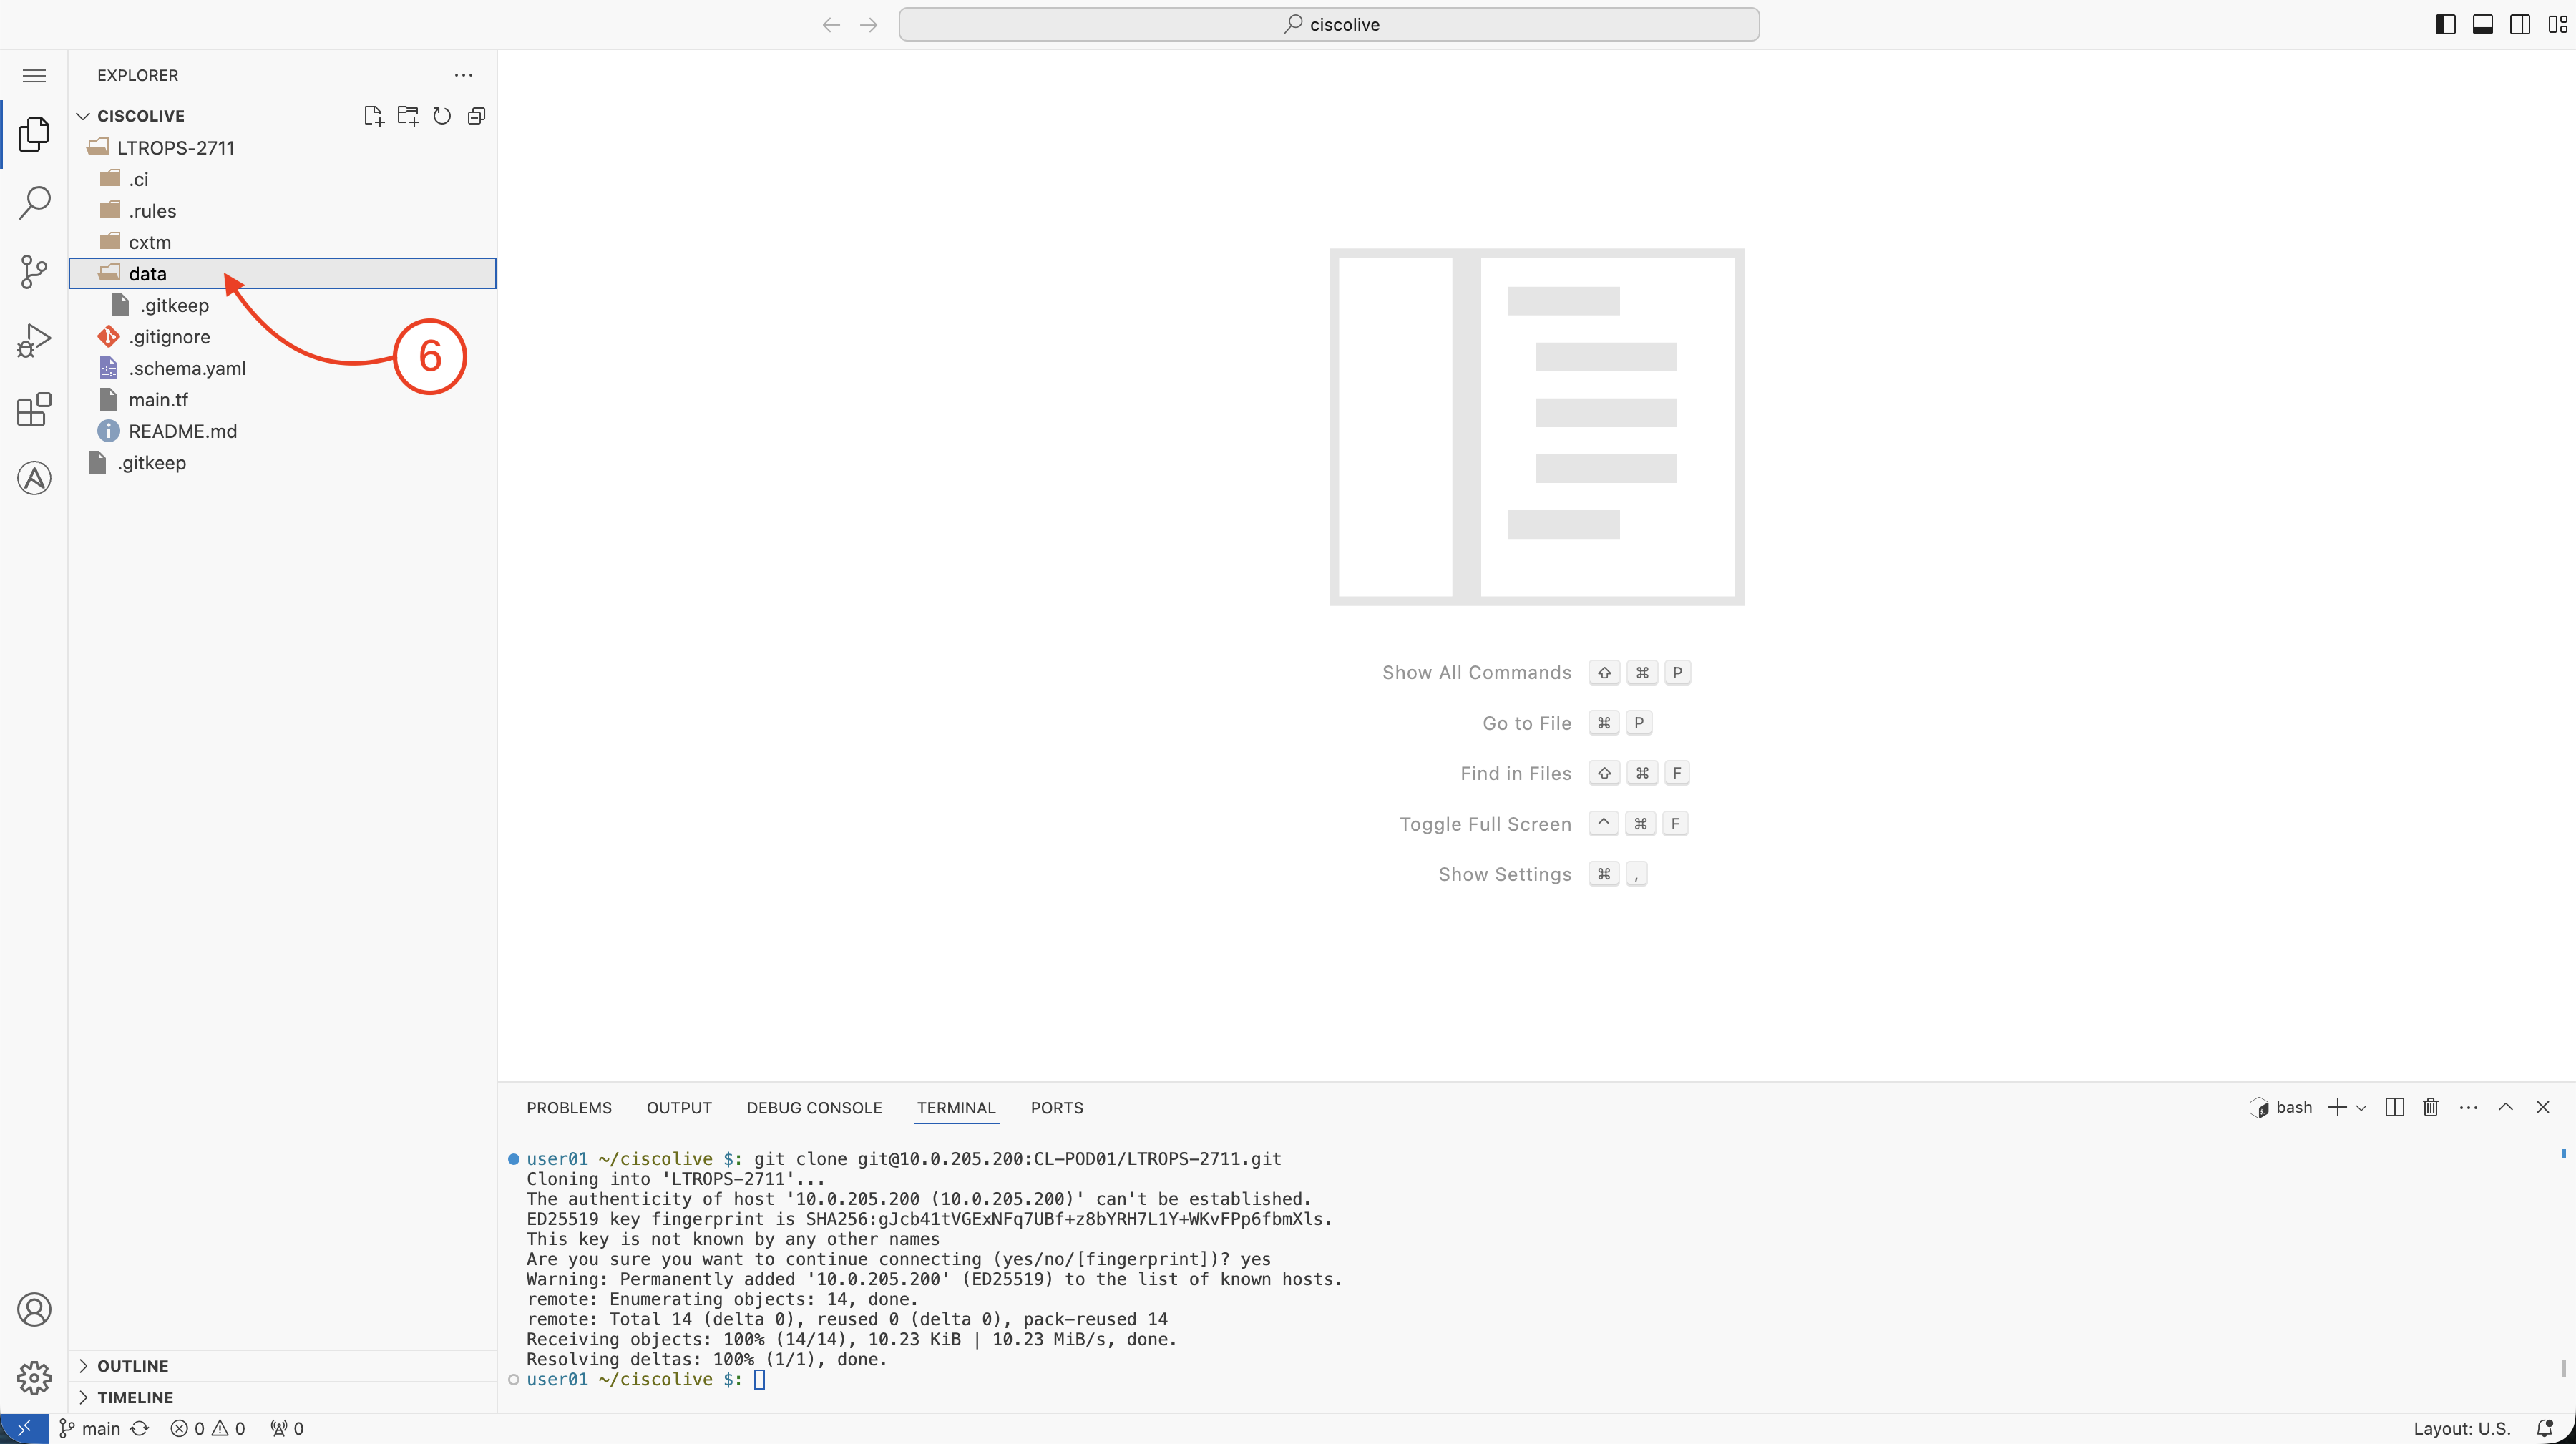
cd LTROPS-2711/
Continue to the next section to create and manage the Nexus data center deployment configurations.